10% off Jump Ramps | Code: MOBILE10 | Exp. Fri 4/19

Ninja Mountain Bike Performance - Skills Clinics, MTB Jump Ramps and Bike Stands

If you’re new to mountain biking, you may have some questions that you’re hesitant to ask. But, as Mark Twain said, “He who asks is a fool for five minutes, but he who does not ask remains a fool forever.” To help you out, we’ve answered 12 common mountain biking questions that new riders often have.

Question: Do I wear underwear under my chamois?

Mountain biker riding down a rocky trail

Answer: No, it’s best to go commando (i.e., don’t wear underwear under your chamois) and wear shorts or pants while riding. Chamois are designed to be worn directly against the skin, and wearing underwear can lead to chaffing and prevent the pad from absorbing sweat as intended.

Question: When should I use my dropper post?

Rider sitting low on a mountain bike riding down a trail

Answer: As a general rule, use your dropper post anytime you’re going downhill. At first, you may have to consciously remember to drop the seat, but it will soon become second nature.

Question: What should I wear when mountain biking?

Rider wearing a helmet and sunglasses

Answer: The most important thing to wear is a helmet. Beyond that, it’s up to you to wear what you feel most comfortable in. Some people wear chamois and MTB-specific shorts and jerseys, while others wear jean shorts and a t-shirt. It really depends on the type of terrain and what makes you feel safe. But if you’re riding on loose, rocky terrain or on a trail with obstacles, it’s best to wear long sleeves to protect your skin.

Question: Where should I store my bike?

Full suspension mountain bike secured in a red bike stand

Answer: Ideally, you should store your bike in a dry space protected from the weather, such as a garage. If you have a dropper post, make sure to store your bike with the seat up. Check out the Ninja best seller mountain bike stand for great solution.

Question: Do people really ride with fanny packs?

Mountain biker with a fanny pack riding down a trail.

Answer: Yes, fanny packs are back and they’re practical for storing essentials and taking the weight off your shoulders while riding. If you’re going for a short ride, you may only need a small fanny pack to carry your phone and a snack. But if you’re going for a longer ride and your pack is also your water supply, extra clothing, and tool storage, you’ll want to invest in a larger hip pack.

Question: Do I need to be able to get off the bike on both sides?

Rider dismounting a mountain bike

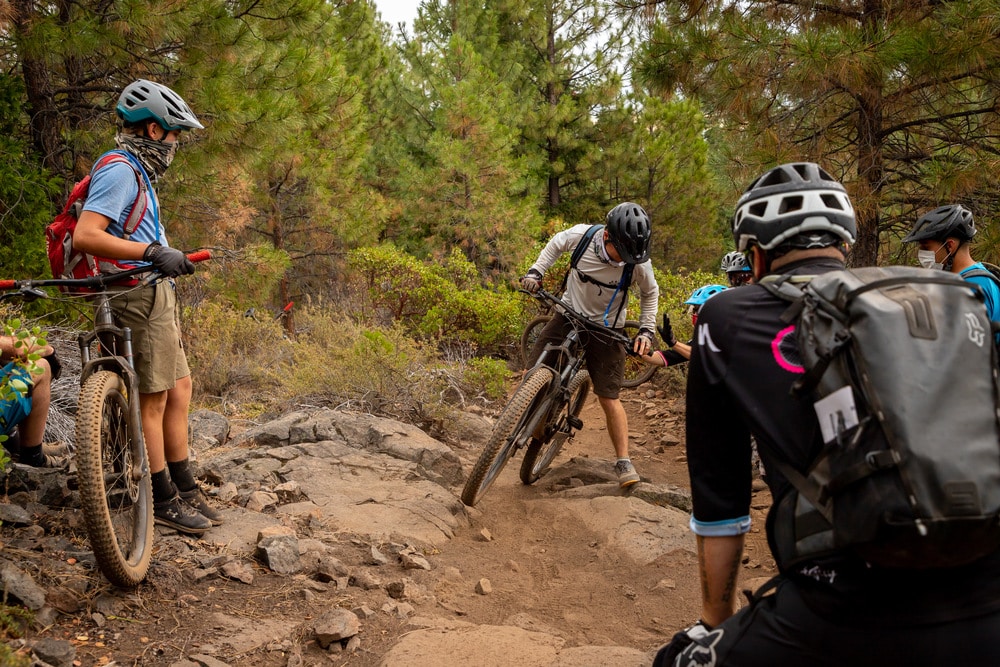
Answer: Yes, being able to dismount your bike on both the left and right sides will allow you to select the safest option when you’re on variable terrain. Remember to always get off your bike on the uphill side to avoid falling down the hill.

Q: Who has the right of way on the trail?

Mountain bikers giving hikers the right of way on a trail

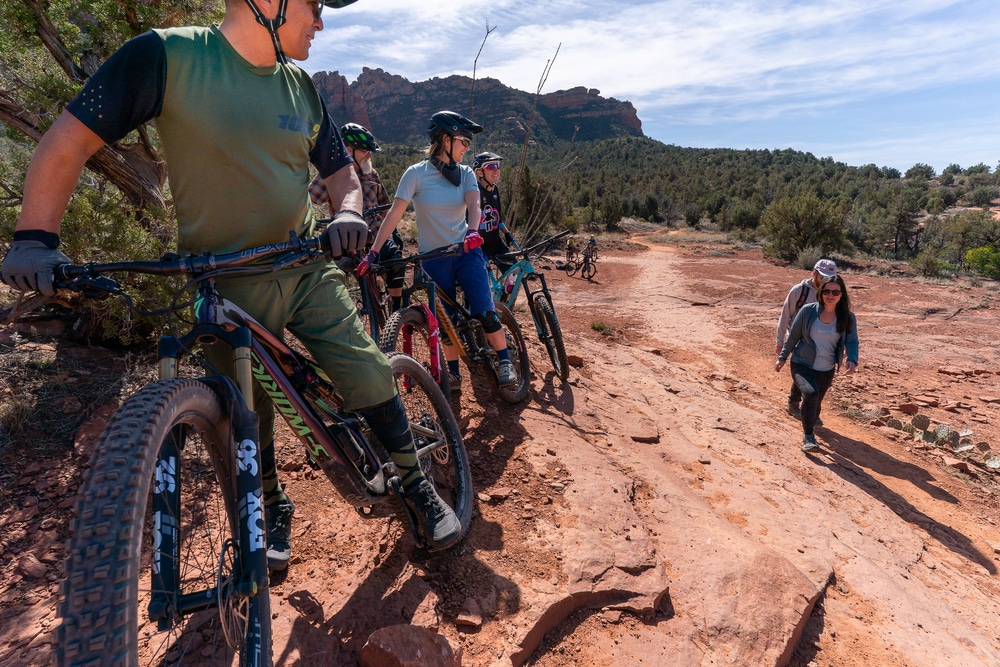
Answer: Generally, hikers, runners, and horses have the right of way before mountain bikers enter the mix on public multi-use trails. However, it’s always a good idea to use your best judgement and be aware of your surroundings when on the trail.

Question: What is rebound and what does it do?

Rockshox rear suspension on a full suspension mountain bike

Answer: Rebound is the speed at which the suspension returns to its full length after it has been compressed to go over an obstacle. A properly adjusted suspension should allow the wheel to stay in contact with the obstacle during compression and rebound should not be noticeable. If you feel like your suspension is causing you to bounce around, it likely needs to be adjusted.

Question: When should I shift gears?

Rider on full suspension mountain bike riding up a rocky trail

Answer: The purpose of gears is to maintain an even cadence while pedaling, and shifting allows you to optimize your speed and power. When going uphill, shift to an easier gear to reduce the strain on your muscles and knees. When going downhill, shift to a harder gear to gain more power and momentum. On variable terrain, you’ll need to shift frequently to maximize the efficiency of each pedal stroke.

Uphill: If you’re going uphill, and you want to stay seated, you need to shift into an easier gear (like a mullet, that means small ring in front big ring in the rear, if your bike is set up with a 1x drive train focus on the party in the back). If you don’t shift, you’ll find that your leg muscles fatigue faster, and there’s more strain on your knees because it takes more effort to push the pedals (and your weight and the weight of your bike) uphill with each pedal stroke.

You’ll also want to keep moving at a pace and speed that allows you to keep your balance, so it’s about finding the gear that allows you to keep moving with the least effort and strain on your muscles, while still moving at a sustained pace. If you stop on a hill, it’s harder (but not impossible) to start again without spinning your tires (losing traction).

Downhill: When you’re going downhill; gravity, the weight of your body and the weight of your bike will help carry you down with ease. You’ll want to shift into a HARDER gear (the smaller ring in the back) so that each pedal stroke gives you more power and momentum forward. If you’re not feeling any resistance, and your legs are just spinning, then you’re not adding to your speed. You’re just moving your legs in circles for no reason in particular.

Variable Terrain: Most rides aren’t just uphill or just downhill, they’re an undulating combo of the two. This means you’ll be shifting quite a bit as you transition from uphill (easier gear) to downhill (harder gear), in an effort to maximize the efficiency of each pedal stroke and keep your legs from burning.

Question: Are my tires too low?

Dusty mountain bike tire

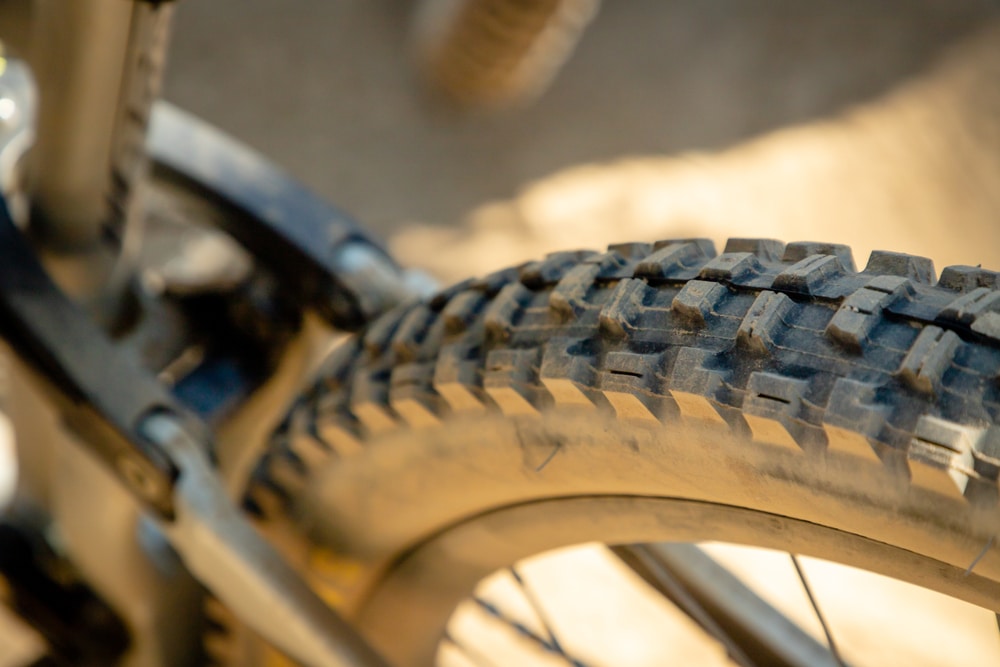
Answer: You should check your tire pressure before every ride, as it depends on your weight as a rider and the terrain. Low tire pressure can cause flats or damage to your rims and decrease stability, while too much air can cause you to ride like Fred Flintstone. Ideally, your tire should have enough air to deform slightly to maintain contact with obstacles, while still providing enough support. The average 6ft tall, 185lbs rider typically sets tire pressure between 25-30 psi, while smaller riders tend to run lower, typically between 22-26 psi.

Question: Why are pedals that you clip into called clipless?

Blue clipless mountain bike shoes clipped into a pedal

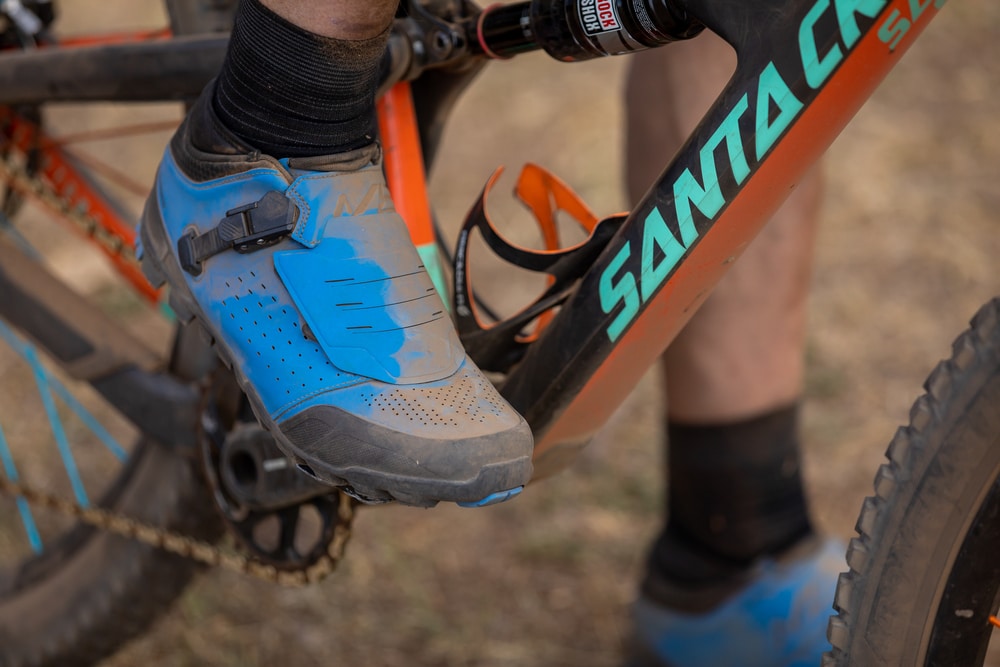
Answer: The term “clipless” is a bit of a misnomer, as these pedals are actually designed to be clipped into. The name comes from the fact that they do not use the traditional “toe clips” that were commonly used in the past to secure the foot to the pedal. This allowed for increased efficiency by securing the foot to the pedal.

Question: What is better, clipless or flats?

Man wearing mountain bike shoes standing on a pedal

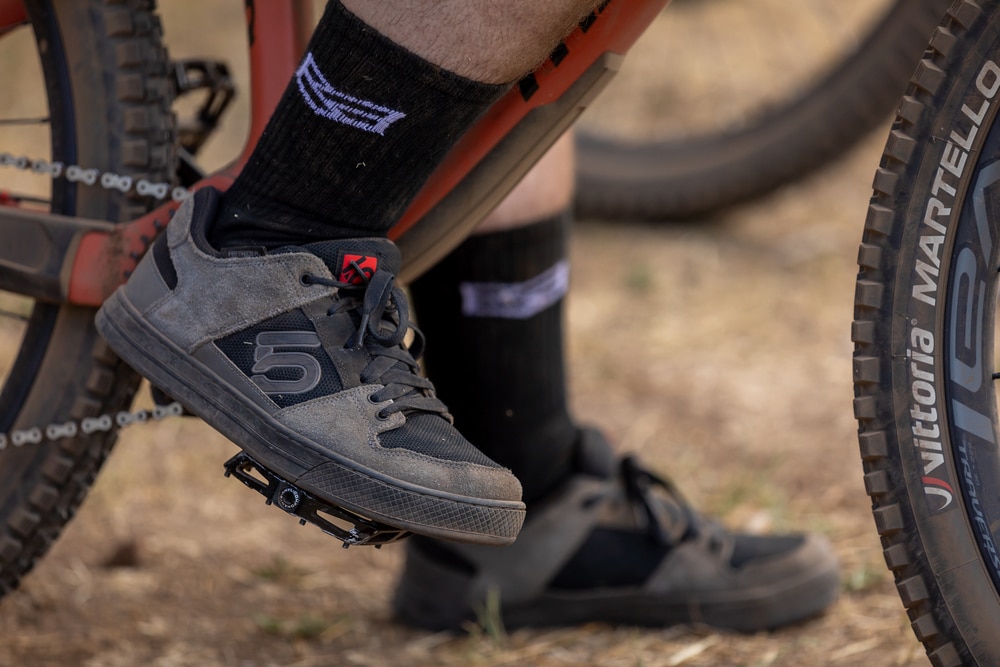
Answer: It’s a matter of personal preference. Clipless pedals allow for more efficient pedaling and better power transfer, while flat pedals offer more versatility and freedom to move your feet around. It’s worth trying out both types of pedals and see which one you feel more comfortable with.

ProTip: If you’re just starting out, it’s best to learn on flat pedals. That way you learn all the proper foot techniques and you can bail easily if you find yourself between a rock and a hard place (literally). Eventually, you may transition to clipless pedals, but that’s purely preference.

BONUS Mountain Bike Question:

Question: Should I wear knee pads?

Putting on Ninja knee pads

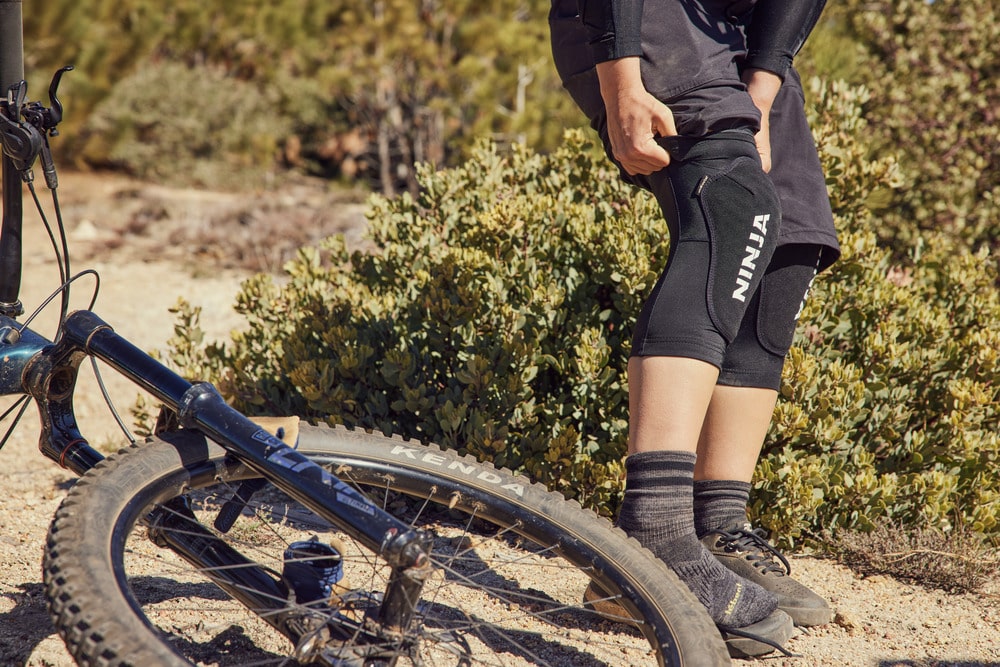
Answer: Whether or not to wear knee pads while riding a mountain bike is a personal choice and it depends on what makes you feel safe and comfortable while riding. It’s worth noting that knee pads can provide added protection in case of a fall and can help prevent injuries.

It’s also good to consider your riding style and the type of trails you typically ride. If you’re riding mostly smooth and flowy trails, you may want to consider a light-weight pad, or for a rocky trail — we would recommend a heavier pads with more protection. Ninja is proud to offer some of the best knee (and elbow) pads on the planet, check here for all the details.

Short and sweet – if you have a question, it’s probably not as dumb as you think. Even the experts have their moments of confusion. So, don’t be shy and ask away! We’re all about helping you become a top-notch mountain biker, and that includes answering any burning questions you may have. So, if you’re curious about something, just give us a shout and we’ll spill the dirt.

4 Responses

  1. What are your thoughts on tire inserts? Should I use them? I currently do not. What are the pros and cons? I am 5’8″, 145lbs. I am a solid intermediate/advanced rider.

    I have been to a few Ninja camps. Learned a lot. I will be back again for sure. And I have convinced others to take a clinic as well!

    1. Depends where you ride. I’m in El Paso, and we are plagued with “goathead” thorns on most trails. They will puncture any tire fast, so I used to use inserts. Now I use Stan’s tire sealant, which is awesome. If you have thorns, use one or the other.

    2. Tire inserts are great, especially if you are riding over technical rocky and/or rooty terrain. Besides the obvious benefit of rim protection, there are two other great reasons to run inserts. First is better traction due to lower tire pressure. With lower pressure the tire conforms to the obstacle(rock, root, etc…), giving a larger tire patch in contact with the ground. The second benefit is your suspension and ride quality. Your tires are actually part of your suspension on the bike, with the lower air pressure there is better small bump compliance(the tire will conform quicker than the fork/shock will compress.)

      The cons are weight, price, and ease(or the lack of) of install. Personally I think the ride benefits outweigh(no pun intended), the rotational weight penalty of the inserts. Price, mountain biking ain’t cheap. Installation, I think the installation horror stories are overblown, watch a video, take your time on your first install, after that it gets easier(it takes me maybe an extra three minutes now to swap a tire with inserts as opposed to one without.)

      Hope this helps.

      Keith – Ninja Instructor

  2. The additional point about right-of-way is climbing riders have the right-of-way over descending ones, although just like hikers, they may ask you to just bomb on through.

Leave a Reply

Your email address will not be published. Required fields are marked *

keep me in the loop

NOTIFY ME!

I’d like to be notified when new events are added.

Your Privacy is Protected. We will never sell or share your information.

Fundamentals Trail Application - Women's Only

Here’s What We’ll Cover

The specific skills taught in this clinic will depend on available trail features and will vary between locations. Skills covered may include:

  • Rock / Log Step-Ups 
  • Pedal Assisted Front Wheel Lifts
  • Steep Transitions, Roll-Downs
  • Reading trail and line choice
  • Using trail features for maximum flow
  • Turning (Low Speed)
  • Navigating Trail Obstacles
  • Switchbacks – Optimal Line Choice
  • Ratcheting application – how & when 
  • Track stands
  • Braking for Speed 
  • Shifting – Timing + Technique on Technical Terrain
  • Skinnies
  • Off-Camber Trails 
  • Berms 
  • Water crossings 
  • Roots 

The Schedule*

  • 1:15-1:30pm Meet your instructor  | Arrival at course venue + equipment check
  • 1:30 – 1:45pm Fundamentals Skills | Rapid Review 
  • 1:45 – 3:45pm Coached Trail Ride | Sessioning & Skills Application
  • 3:45-4:00pm Review, questions & next steps | #Ridelikeaninja

*Clinic schedule and skills covered may vary according to location and terrain.

Fundamentals Trail Application

Here’s What We’ll Cover

The specific skills taught in this clinic will depend on available trail features and will vary between locations. Skills covered may include:

  • Rock / Log Step-Ups 
  • Pedal Assisted Front Wheel Lifts
  • Steep Transitions, Roll-Downs
  • Reading trail and line choice
  • Using trail features for maximum flow
  • Turning (Low Speed)
  • Navigating Trail Obstacles
  • Switchbacks – Optimal Line Choice
  • Ratcheting application – how & when 
  • Track stands
  • Braking for Speed 
  • Shifting – Timing + Technique on Technical Terrain
  • Skinnies
  • Off-Camber Trails 
  • Berms 
  • Water crossings 
  • Roots 

The Schedule*

  • 1:15-1:30pm Meet your instructor  | Arrival at course venue + equipment check
  • 1:30 – 1:45pm Fundamentals Skills | Rapid Review 
  • 1:45 – 3:45pm Coached Trail Ride | Sessioning & Skills Application
  • 3:45-4:00pm Review, questions & next steps | #Ridelikeaninja

*Clinic schedule and skills covered may vary according to location and terrain.

Ninja Kids clinics

Here’s What We’ll Cover

Some of the skills taught and practiced in the Kids Fundamentals Clinic may include:

  • Ninja (Ready) Position
  • The Riding Rainbow: Body Position
  • How to use your gears
  • Front + Rear Wheel Lifts
  • Safely getting on/off your bike
  • Getting over trail obstacles
  • Turning + Switchbacks
  • Reading the trail: Red Light, Yellow Light, Green Light
  • When and how to brake
  • The 4 Climbing Positions
  • Descending in control
  • How to have fun and be safe!
  • Safety check, bike care

Clinic schedule, time and skills covered may vary according to location and terrain.

2-Day CAMPS

Sample Camp Schedule*

Day 1 (Saturday)

  • 8:45-9:00 Meet your instructor  | Arrival at course venue + equipment check
  • 9:00-9:15 Let’s get started | Introductions, camp overview, bike safety check, bike set-up review
  • 9:15-9:30 Warm-up ride | Head to skills area
  • 9:30-12:15 Mornings skills session | Ready position, bike-body separation, effective braking, fluid shifting, body positioning, wheel lifts
  • 12:15-1:30 Lunch break | BYO
  • 1:30 – 4:00 Intro to jumping | Manuals, bunny hops + how to safely jumping (and land) your mountain bike

Day 2 (Sunday)

  • 8:45-9:00 Meet at trailhead | Gear up for day 2!
  • 9:00-9:15 Review | Brief review of Day 1 skills
  • 9:15-12:00 Morning skills session | High-speed cornering, switchbacks, drops, rock dodge, technical climbing & descending
  • 12:00-1:00  Lunch break | BYO
  • 1:00-3:45 Trail ride + skills application | Put those skills to work!
  • 3:45-4:00 Review, questions & next steps | #Ridelikeaninja


*Clinic schedule and skills covered may vary according to location and terrain.

After camp, you will see an immediate improvement in your riding and a boost in confidence on technical trails. You will be able to tackle rougher terrain and corners with greater control and flow through singletrack, switchbacks, and berms with more speed and efficiency.

Jumping Mini-Clinics

Here’s What We’ll Cover

Some of the skills taught and practiced in the Jumping Mini-Clinic may include:

  • Wheel lift Review
  • Bunny hops
  • Jumping body positioning
  • Anatomy of a jump
  • Speed vs. compression | How and when?
  • Landing with precision
  • Let’s get jumping! | Jump progressions

The Schedule*

Please note, clinics may vary according to location and terrain.

  • 1:30-1:45  Meet your instructor | Arrival at course venue + equipment check
  • 1:45-2:00 Let’s get started | Introductions
  • 2:00 – 2:30  Intro to jumping | Wheel lifts, manual, bunny hop
  • 2:30 – 3:00 Reading the jump | Anatomy of a jump, speed vs compression, landings
  • 3:00 – 3:45 Let’s jump! | Jumping progressions on table tops
  • 3:45-4:00 Review and next steps | #ridelikeaninja


*Clinic schedule and skills covered may vary according to location and terrain.

Intermediate / advanced clincs

Here’s What We’ll Cover

Some of the skills taught and practiced in the Intermediate/Advanced clinic may include:

  • Negotiating trail obstacles (i.e. rock gardens, roots, logs)
  • Steep transitions
  • Drops
  • High speed cornering
  • Technical climbing
  • Technical descending
  • Advanced braking
  • Reading the trail
  • Introduction to energy management & flow
  • Pumping for speed & air
  • Technical Switchbacks (where available)
  • Ratcheting & Trackstands
  • Visualization

The Schedule*

  • 8:45-9:00 Meet your instructor  | Arrival at course venue + equipment check
  • 9:00-9:15 Let’s get started | Introductions
  • 9:15-9:45 Accelerated review of Fundamentals | With intermediate+advanced progressions
  • 9:45-12:00 Morning skills session | High-speed cornering, Switchbacks, drops, rock dodge, technical climbing & descending
  • 12:00-1:00  Lunch break | BYO
  • 1:00-3:45 Trail ride + skills application | Put those skills to work!
  • 3:45-4:00 Review, questions & next steps | #Ridelikeaninja

*Clinic schedule and skills covered may vary according to location and terrain.

WOMEN'S ONLY Fundamentals Combo

Here’s What We’ll Cover

The specific skills taught in this clinic will depend on available trail features and will vary between locations. Skills covered may include:

  • The Ready Position
  • Bike/Body Separation
  • Intro to Steep Transitions
  • Effective Braking
  • Braking for speed
  • Wheels lifts – Step-Ups
  • Shifting, Timing & Cadence
  • Negotiating trail obstacles
  • Turning / Switchbacks
  • Climbing + Descending
  • Dismounting
  • Mind skills
  • Steep Transitions, Roll-Downs
  • Reading trail and line choice
  • Using trail features for flow
  • Turning (Low Speed)
  • Ratcheting – how & when 
  • Track stands
  • Skinnies
  • Off-Camber Trails
  • Berms
  • Water crossings
  • Roots

The Schedule*

  • 8:45-9:00  Meet your instructor  | Arrival at course venue + equipment check
  • 9:00-9:15 Let’s get started | Introductions
  • 9:15am – 11:15 Skills & drills | Learn, learn, learn
  • 11:15am – 12:15 Take it to the trail | Apply what you’ve learned
  • 12:15 – 1:30pm Lunch Break | Rest & Refuel
  • 1:30 – 1:45pm Fundamentals Skills | Rapid Review 
  • 1:45 – 3:45pm Coached Trail Ride | Sessioning & Skills Application
  • 3:45-4:00pm Review, questions & next steps | #Ridelikeaninja

*Clinic schedule and skills covered may vary according to location and terrain.

Co-ed Fundamentals Combo

Here’s What We’ll Cover

The specific skills taught in this clinic will depend on available trail features and will vary between locations. Skills covered may include:

  • The Ready Position
  • Bike/Body Separation
  • Intro to Steep Transitions
  • Effective Braking
  • Braking for speed
  • Wheels lifts – Step-Ups
  • Shifting, Timing & Cadence
  • Negotiating trail obstacles
  • Turning / Switchbacks
  • Climbing + Descending
  • Dismounting
  • Mind skills
  • Steep Transitions, Roll-Downs
  • Reading trail and line choice
  • Using trail features for flow
  • Turning (Low Speed)
  • Ratcheting – how & when 
  • Track stands
  • Skinnies
  • Off-Camber Trails
  • Berms
  • Water crossings
  • Roots

The Schedule*

  • 8:45-9:00  Meet your instructor  | Arrival at course venue + equipment check
  • 9:00-9:15 Let’s get started | Introductions
  • 9:15am – 11:15 Skills & drills | Learn, learn, learn
  • 11:15am – 12:15 Take it to the trail | Apply what you’ve learned
  • 12:15 – 1:30pm Lunch Break | Rest & Refuel
  • 1:30 – 1:45pm Fundamentals Skills | Rapid Review 
  • 1:45 – 3:45pm Coached Trail Ride | Sessioning & Skills Application
  • 3:45-4:00pm Review, questions & next steps | #Ridelikeaninja

*Clinic schedule and skills covered may vary according to location and terrain.

Ninja MTB Logo

Women's Only Fundamentals Clinics

Level 1 - Here’s What We’ll Cover

Some of the skills taught and practiced in the Women’s Only Fundamentals Clinic may include:

  • The Ready Position
  • Bike/Body separation
  • Intro to Steep Transitions
  • Effective braking
  • Wheels lifts
  • Shifting + cadence
  • Negotiating trail obstacles
  • Turning / Switchbacks
  • Climbing + Descending
  • Dismounting
  • Mind skills

The Schedule*

  • 8:45-9:00  Meet your instructor  | Arrival at course venue + equipment check
  • 9:00-9:15 Let’s get started | Introductions
  • 9:15am – 11:15 Skills & drills | Learn, learn, learn
  • 11:15am – 12:00 Take it to the trail | Apply what you’ve learned
  • 12:00-12:15 Review and next steps | #ridelikeaninja
 

*Clinic schedule and skills covered may vary according to location and terrain.

Ninja MTB Logo

Co-ed Fundamentals Clinics

Level 1 - Here’s What We’ll Cover

Some of the skills taught and practiced in the Fundamentals Clinic may include:

  • The Ready Position
  • Bike/Body separation
  • Intro to Steep Transitions
  • Effective braking
  • Wheels lifts
  • Shifting + cadence
  • Negotiating trail obstacles
  • Turning / Switchbacks
  • Climbing + Descending
  • Dismounting
  • Mind skills

The Schedule*

  • 8:45-9:00  Meet your instructor  | Arrival at course venue + equipment check
  • 9:00-9:15 Let’s get started | Introductions
  • 9:15am – 11:15 Skills & drills | Learn, learn, learn
  • 11:15am – 12:00 Take it to the trail | Apply what you’ve learned
  • 12:00-12:15 Review and next steps | #ridelikeaninja
 

*Clinic schedule and skills covered may vary according to location and terrain.

LEAVING SO SOON?

60% Off

IF YOU SIGN UP FOR A MTB SKILLS CLINIC TODAY!

Enter your email below to get your limited time coupon code (valid for 48 hours).

Valid on all Skills Camps and Clinics. Your Privacy is Protected.

Awesome sauce!

60% Off

USE THIS CODE TO SIGN UP TODAY!

CHECKOUT4XY2

*Limited time offer. Valid for 48 hours on any upcoming MTB skills clinic or camp.