By Amy Black
I have a confession to make. When I first sat down to write this list, I came up with 18 things. EIGHTEEN! And that’s the problem. The well-meaning friend or loved one who’s encouraging you to mountain bike is so stoked about you riding bikes, they FIREHOSE you with information. With so many tips, tricks, specs, gear, and unsolicited advice, you can’t even begin to digest it all.
I’m here to give you a distilled sip from the firehose in the hopes that you don’t have to learn these 5 things the hard way!
1. Saddle Fit
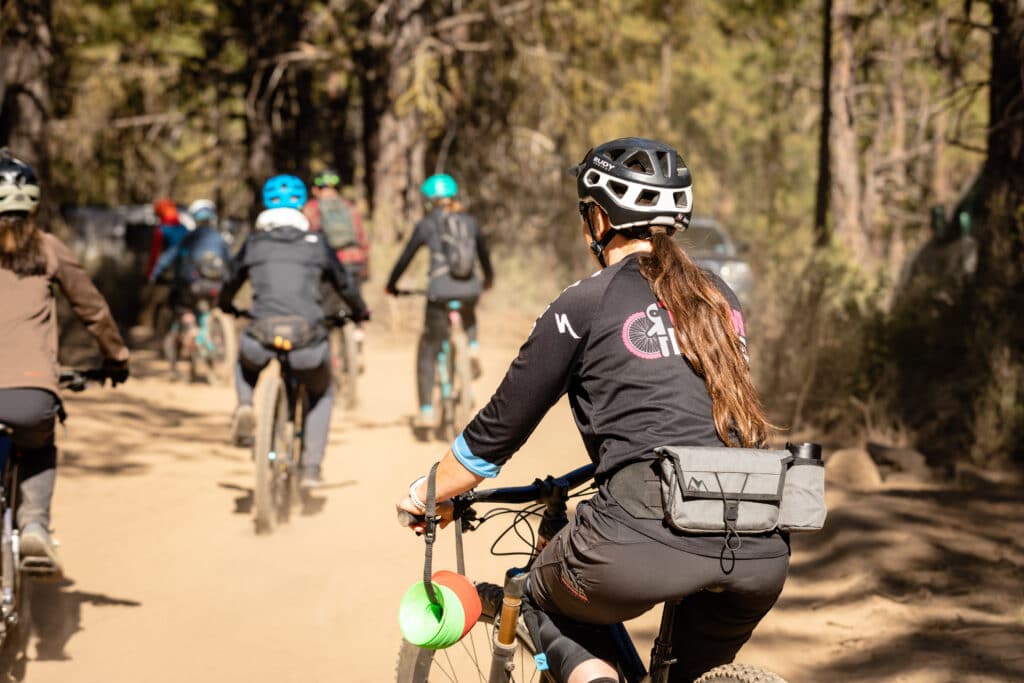
Saddles and butts come in all shapes and sizes and the saddle that comes with your bike may or may not suit your derriere.
My first years of riding included a series of saddle-related issues (ahem, super painful sores) that kept me from riding for weeks and months at a time. In fact, it almost caused me to give up mountain biking altogether. Finally, a friend suggested I go to a bike shop to get my sitz bone measured – what the heck’s a sitz bone? Turns out my saddle was way too narrow. I found a saddle that fit my butt and we rode off into the sunset to live happily ever after.
Pro Tips: Don’t wear underwear under your padded shorts and chamois cream (available at your local bike shop) is your friend! If you have saddle sores or chaffing issues, apply the stuff liberally and enjoy the ride.
2. Fear isn’t the enemy.
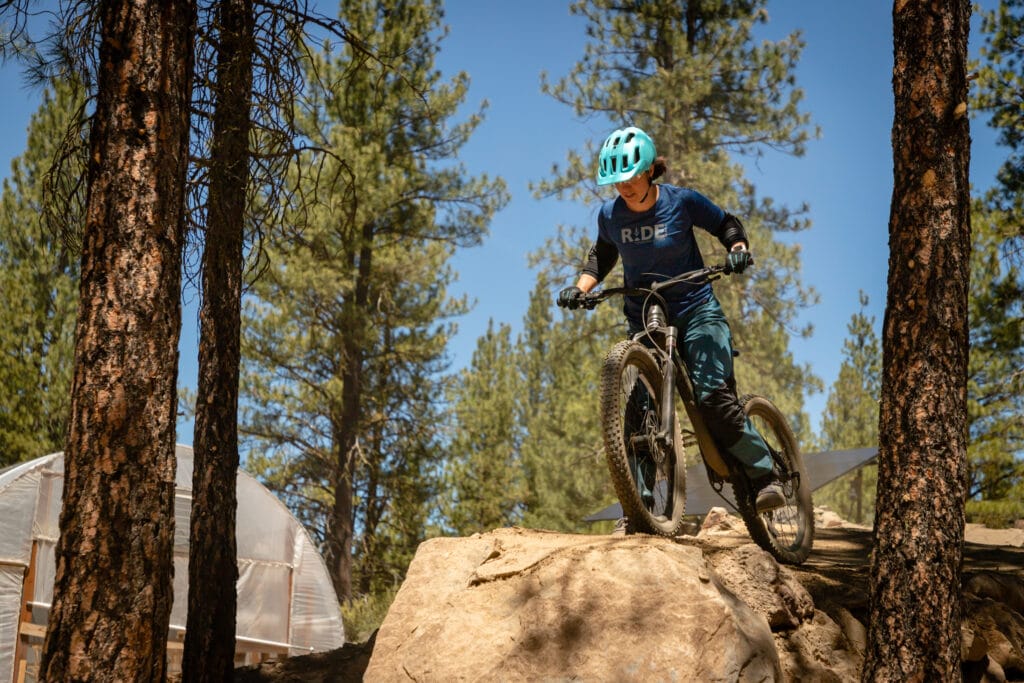
Fear is, in fact, healthy. If you’re feeling fear as you approach a rock or feature in the middle of the trail, perhaps you don’t know what you’re supposed to do to safely maneuver over or around it? Fear, in this case, seems pretty darn rational to me. If you find yourself wrapped up in intrusive thoughts… “I can’t do this. I’m definitely going to crash. I suck at this” … that’s just your brain’s way of protecting your body.
How do you combat that fear? Arm yourself with knowledge. Take a skills clinic, read skills articles, watch videos to learn what skills and techniques good riders are utilizing on the trails. Then go practice, practice, practice and progress at your own pace. Don’t forget to laugh at yourself, celebrate small victories, and enjoy the process!
3. Tire Pressure
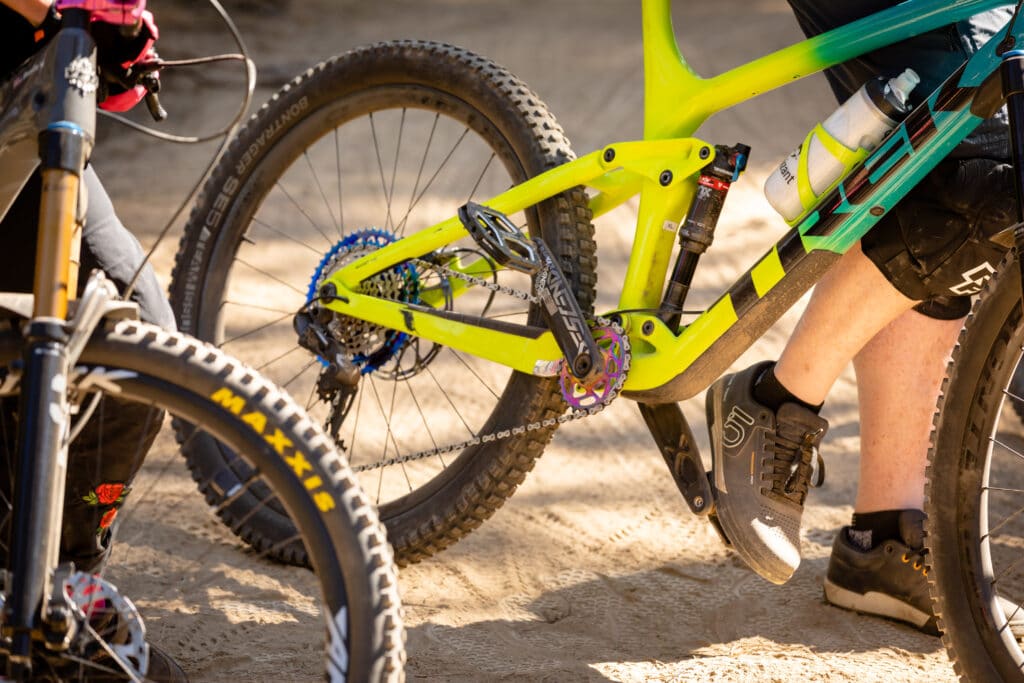
Having the correct tire pressure can make all the difference in your ride. It can be the difference between smooth and silky, klunky and chunky, fun and not-so-fun. Tire pressure isn’t one of those one-n-done kinda things. It’s also not a one-size-fits-all. You should be checking your tire pressure before every ride and adjust your tire pressure to the conditions of the trail. Don’t stress! It’s (slightly) less complicated than it sounds.
Tire pressure can range anywhere from say 15 – 32lbs. If you aren’t sure where to start, take your bike into the local shop and have them give you a “starter” pressure for your weight, tires, and next ride. Play around with a little more and a little less pressure to see how it affects your ride. Eventually you’ll feel for yourself what tire pressure works best for the current trail conditions and your setup.
Pro tip: You’ll want a tire gauge and pump. After a while, you’ll start to get a feel for the “sweet’ spot and might even be able to ditch the pressure gauge.
4. Dropper Post
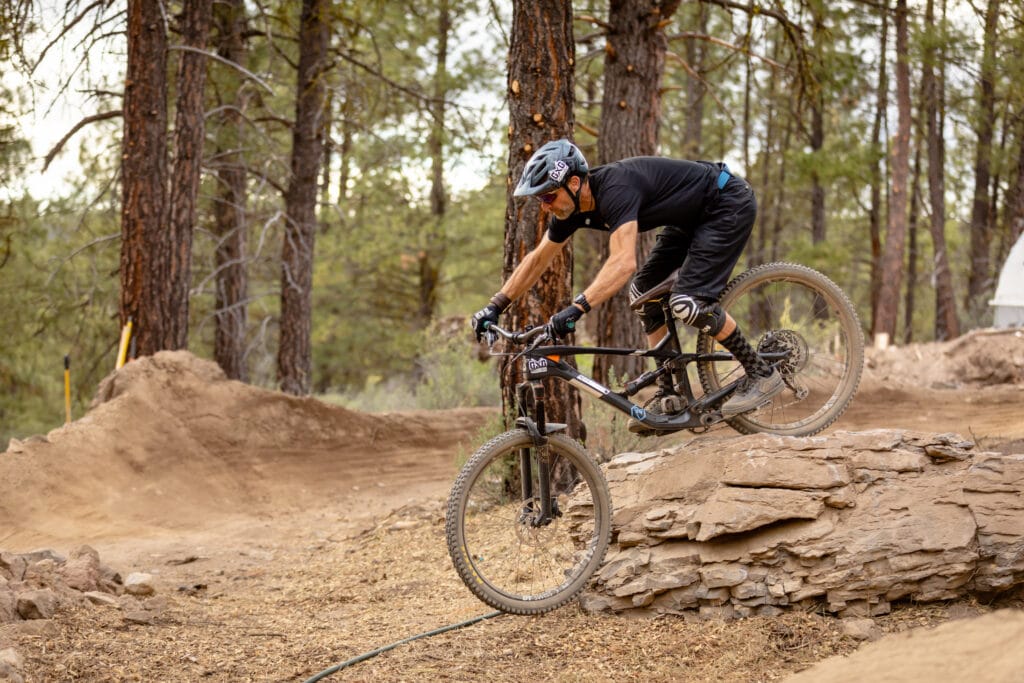
Don’t let anyone tell you that you don’t need a dropper post. Doesn’t matter if you’re cruising in the flatlands or only doing short, green trails, if your trails change elevation – at all – then get yourself a dropper post. Here’s why – being able to lower your seat on a descent, even a short one, makes it that much easier for you to lower your center of gravity. Say hello to more control, stability, and confidence – the recipe for a good ride.
5. It Gets Better
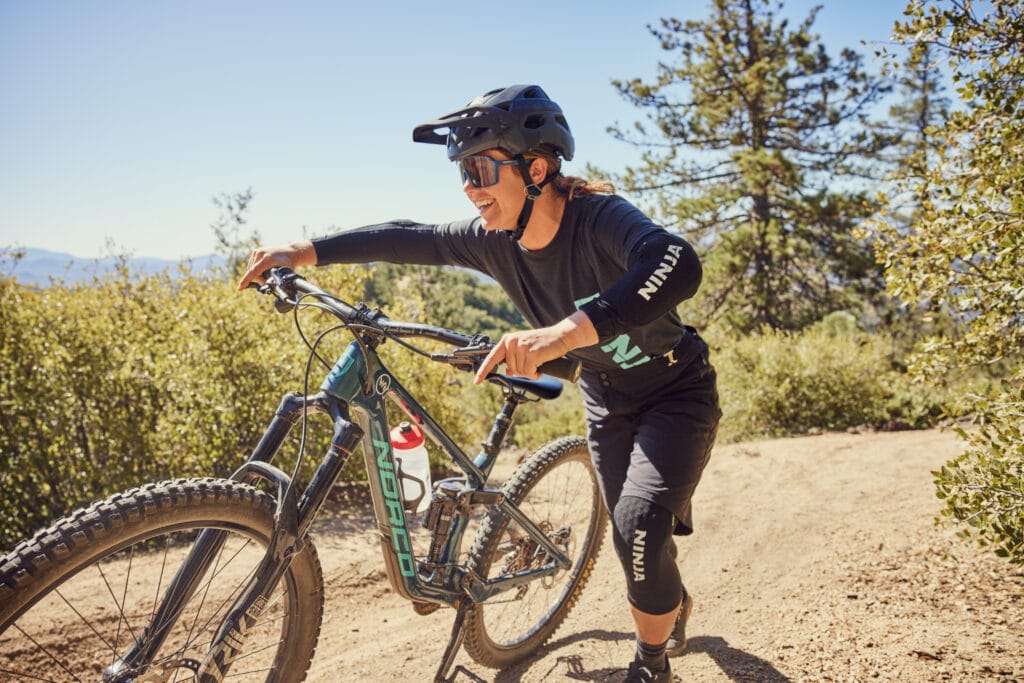
If you’ve been urged to mountain bike by a friend or loved one, you’ve witnessed this “sport” become a “lifestyle” for them. Maybe your first experiences weren’t great. Maybe you fell, you were left behind, and/or you were exhausted and felt discouraged. And while everyone else was smiling and high-fiving, you were collapsed in a dirty, sweaty pile wondering “what the heck about this is FUN for you?!”
Well… it gets better. When you first start riding, every single thing on the trail requires more effort and you don’t have the skills, fitness, or confidence to “find the flow” (yet!). That flow (what your friends are experiencing) comes with time. As your skills toolbox and fitness improve, you won’t be stressing “OMG, how am I going to get up/down this mountain?!” You’ll begin to feel what all the buzz is about and catch yourself firehosing your own new-to-riding friends with advice. Maybe just send them this article instead!?!
Btw, here are 5 things I wish they DIDN’T tell me when I first started mountain biking!

I was considering buying a dropper post but that means I will not be able to use a rear mud guard. I’m usually in wet and/or muddy places so the mud guard saves me from having a huge splurge of dirty water and mud up my back after each ride. Is it possible to have a dropper post but yet have a rear mud guard as well?
yes get one that fits on the top tubes of your rear triangle
Hey Andrew –
As Robert and George mentioned, there are lots of rear mudguard options for you to run with a dropper – start with ProGuard and Mudhugger. There are a few DIY options floating around, but they’re more for protecting your bike and not very useful for keeping you dry.
Happy dropping!
Totally doable, there are mud guards designed specific for bikes with droppers installed. Most mount in the frame area just above the tire in the rear triangle
Or choose a dropper length that leaves an inch of post that does not move exposed above the seat tube, and attached the rear fender to that section of post.