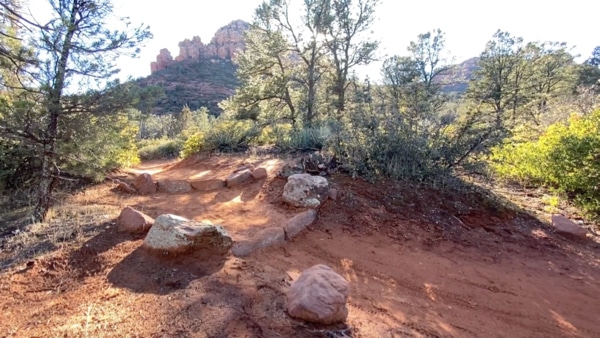
I was told years ago that “you can only go as fast as you can see” and that has stuck with me ever since. Today, let’s take it one step further and update that advice to say “you can only go as fast as what you can see”. This, my friends, is trail vision.
Trail vision, or what you see as you look down the trail, is crucial to both rider safety and a better trail experience. As your riding skills start to progress, the “what” you see will start to change. You’ll start to notice that you can see multiple lines or style options on a single piece of trail.

The best part about trail vision? There are no rules that require you to ride the same line as everyone else! Rather, it is your independent interpretation of a trail and its features that makes riding such a dynamic and rich experience. As your skill set grows, you get more options. Today we are going to show you how trail vision can help you see beyond the basics and launch you into some fun on-trail options!
Option 1: Roll
Here we have the aggressive roll approach to a double drop in the trail. The drops aren’t too tall, so this technique is a safe approach, and keeps the rider in position for the turn that comes afterwards. Note what the eyes are doing – looking through the drops and forward to the turn. Then notice what the eyes aren’t doing – staring down at the wheels! Trail vision requires you to see and setup for what’s coming before you get there, and as your bike/body is riding that feature, you are already looking ahead and starting to setup for the next feature. What matters here is being ready for the turn, so trust your bike and your skills as you ride the drops.
Also note the stability of the body in this video. You are never at the mercy of your bike or just “along for the ride”. Rather, you are in control of everything! That’s why even when riding this roll with a bit of speed, you won’t see any bobble-heading or rocking horse action. Place the bike where you want it to go!
Option 2: Manual
This is my favorite move, the manual! The first thing I’d like you to notice is where the eyes are focused: down trail at the coming turn! Once again, this feature is already happening, so staring down at the drops would only cause problems.
I use the manual often, and it brings my overall trail experience to life. Keeping that back brake covered is the most important part, acting as your safety net in case the bike tries to loop out. For this feature, I love that the rocks on the second drop can provide just enough resistance to bring the front wheel back down smoothly without any disruption. Practice your manuals over roots and bumps to get more comfortable!
It is important to note that each of the maneuvers were performed at the same comfortable trail speed. Faster is usually not the answer! The key to trail vision is having the skills and using them to keeping the bike in control.
Pro Tip: I struggled with manuals before I learned to set targets. Here is what helped me – pick a root, bump, or spot on the trail to manual. These targets can help with timing, give your rear wheel a little extra boost, and even help your front wheel come back down smoothly. And don’t forget, if you want to get better at these, you have to start trying them more. Occasional practice gets occasional results!
Option 3: Bump Jump
In this video, I do what I call a bump jump, which uses an on-trail feature to initiate a bunny hop. Start by noticing the compression before the hop, and how the feet scoop the pedals to bring the bike into the air. You’ll learn in our Ninja clinics that this compression is crucial for increasing the height of your hop, and we’ll even give some pointers on getting that back wheel off the ground when riding flat pedals. When or why would we go “full send” on a section of trail? One, because it’s super fun! And two, the bump jump would be ideal if there were a nasty root or rock pile between these two drops.
Once again, take note of where the eyes are looking. Down the trail at what’s coming next! Because I’m in control of the bike and looking ahead, even if the back wheel were to hit the bottom drop, my body position would let the bike roll through without too much consequence. As you learn to execute various skills like a bump jump or bunny hop, bring them to the trail and have some fun!

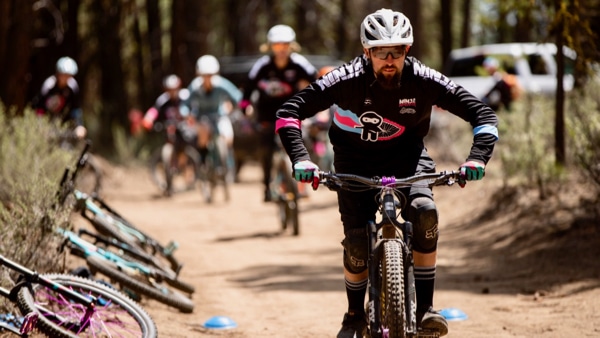
Closing Tip: There’s a reason we cover the Ready Position in the first minutes of every Ninja Clinic – it is absolutely essential to riding performance! Think of that “ready” or “attack” position as your get-out-of-jail-free card when things get rowdy. It provides the maximum range of motion in all directions, as well as stabilizes your bike and body. A good ready position, will allow you to better execute on your trail vision. And don’t forget, one of the major components of the ready position is eyes looking ahead! Something as simple as keeping your head up and eyes looking down the trail will go a long way for improving your trail vision, and riding experience (aka more flow and MORE FUN)! Learn more about Ready Position here.

Great article!
It would be great to see the actual speed as well as the slow-motion cut.
Thanks for the great content – I look forward to my first clinic with you guys in May.
Thanks for the great feedback, Joe and KidX. We’ll update it so you see them back to back and be sure to do the same for future episodes. We’re stoked to have you join us for a clinic, KidX!
Agree with KidX. Full speed and then slow mo back to back would have been awesome.
That manual was awesome. I never do those. Also thanks for adding the slow mo. Looking forward to two of your clinics in North Carolina this year.