
[thrive_leads id=’11794′]
The manual is a useful skill for lofting your front wheel over an obstacle. Yes, lofting as opposed to lifting. Once you know how to manual you’ll start to see the trail from a different perspective. You’ll no longer have to ride over small trail obstacles, you’ll be able to effortlessly loft the front end at will and avoid losing momentum. Getting up small ledges will also become much easier as you learn how to use your hips instead of your arms to pick your front end up.
But, if you’re like most mountain bike mortals — learning to manual is much easier said than done!
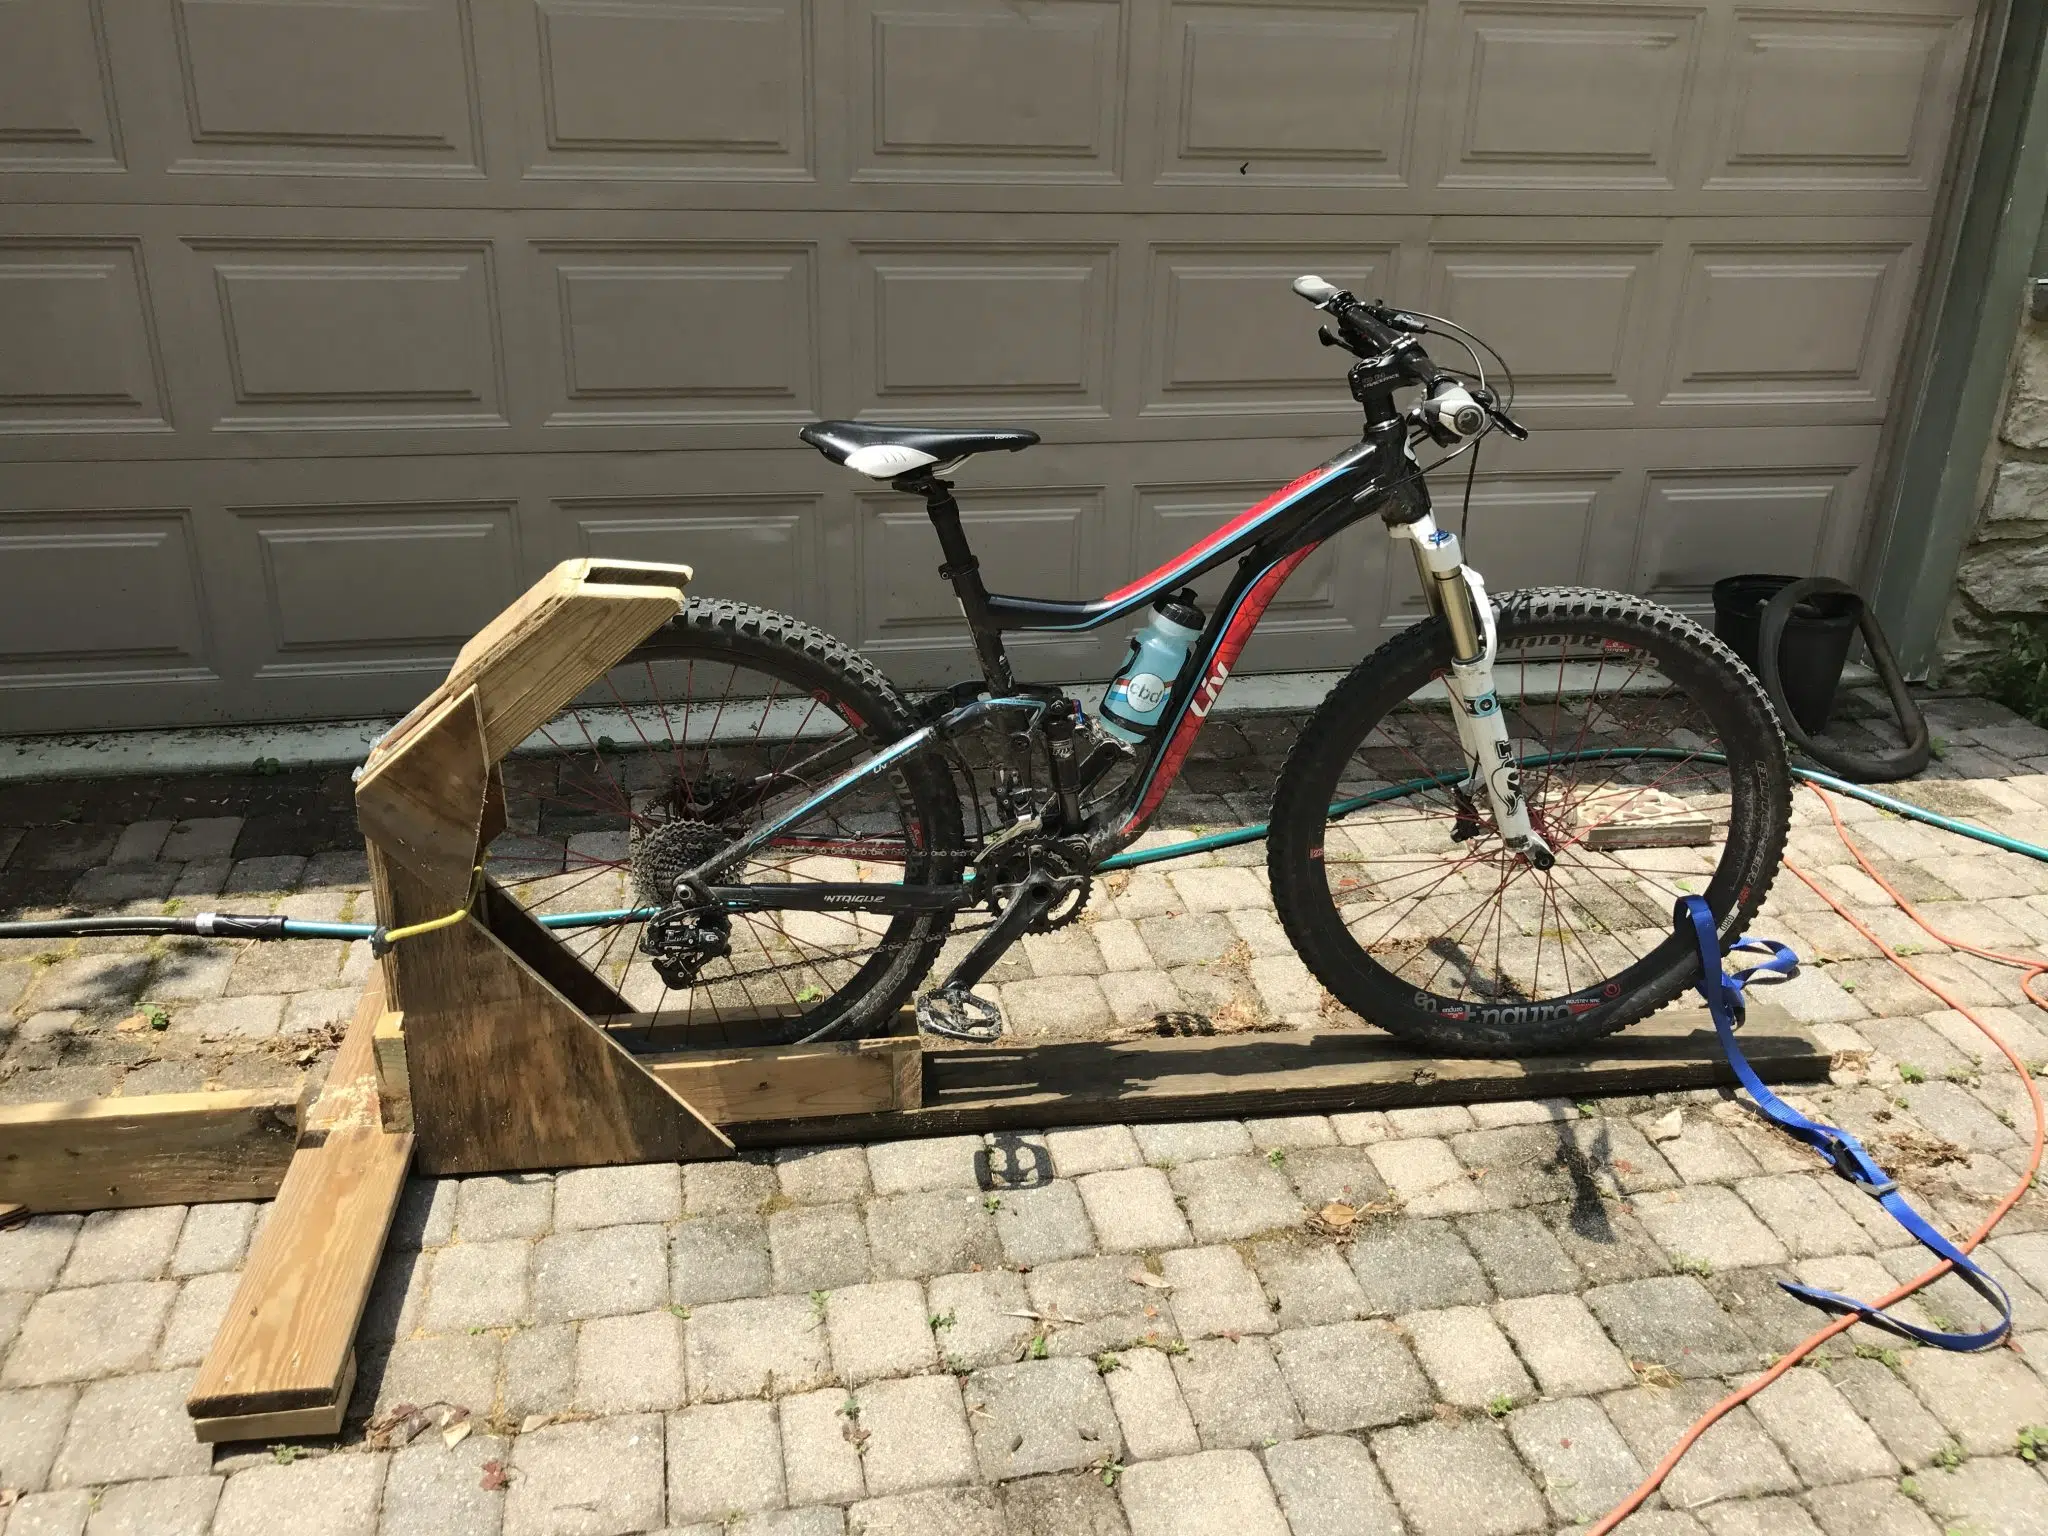
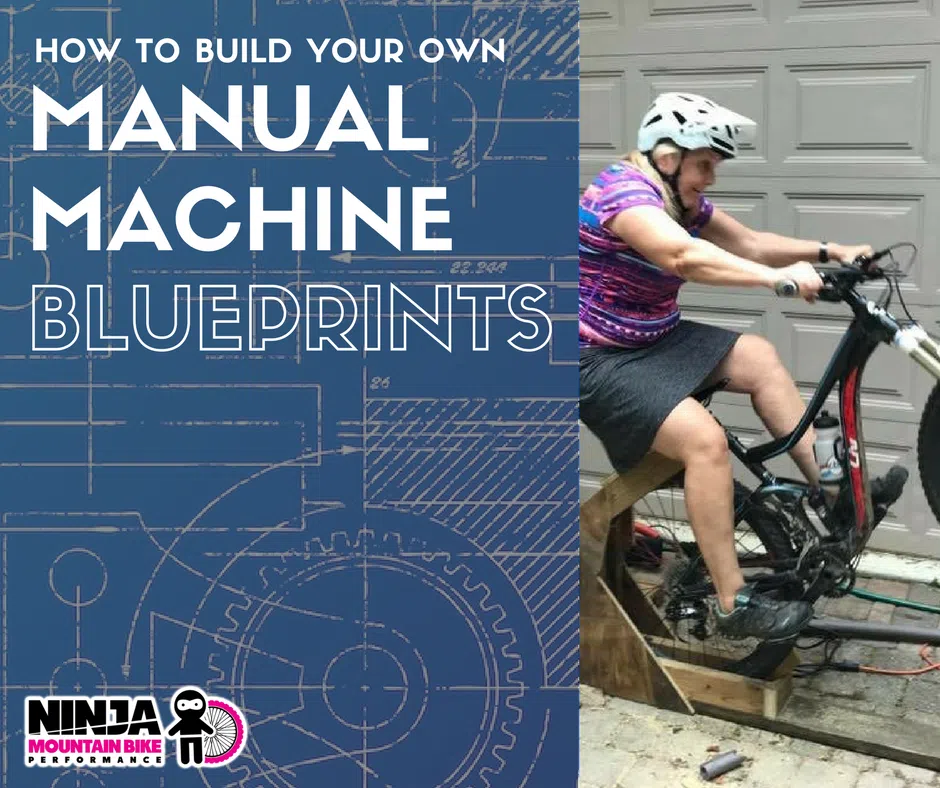
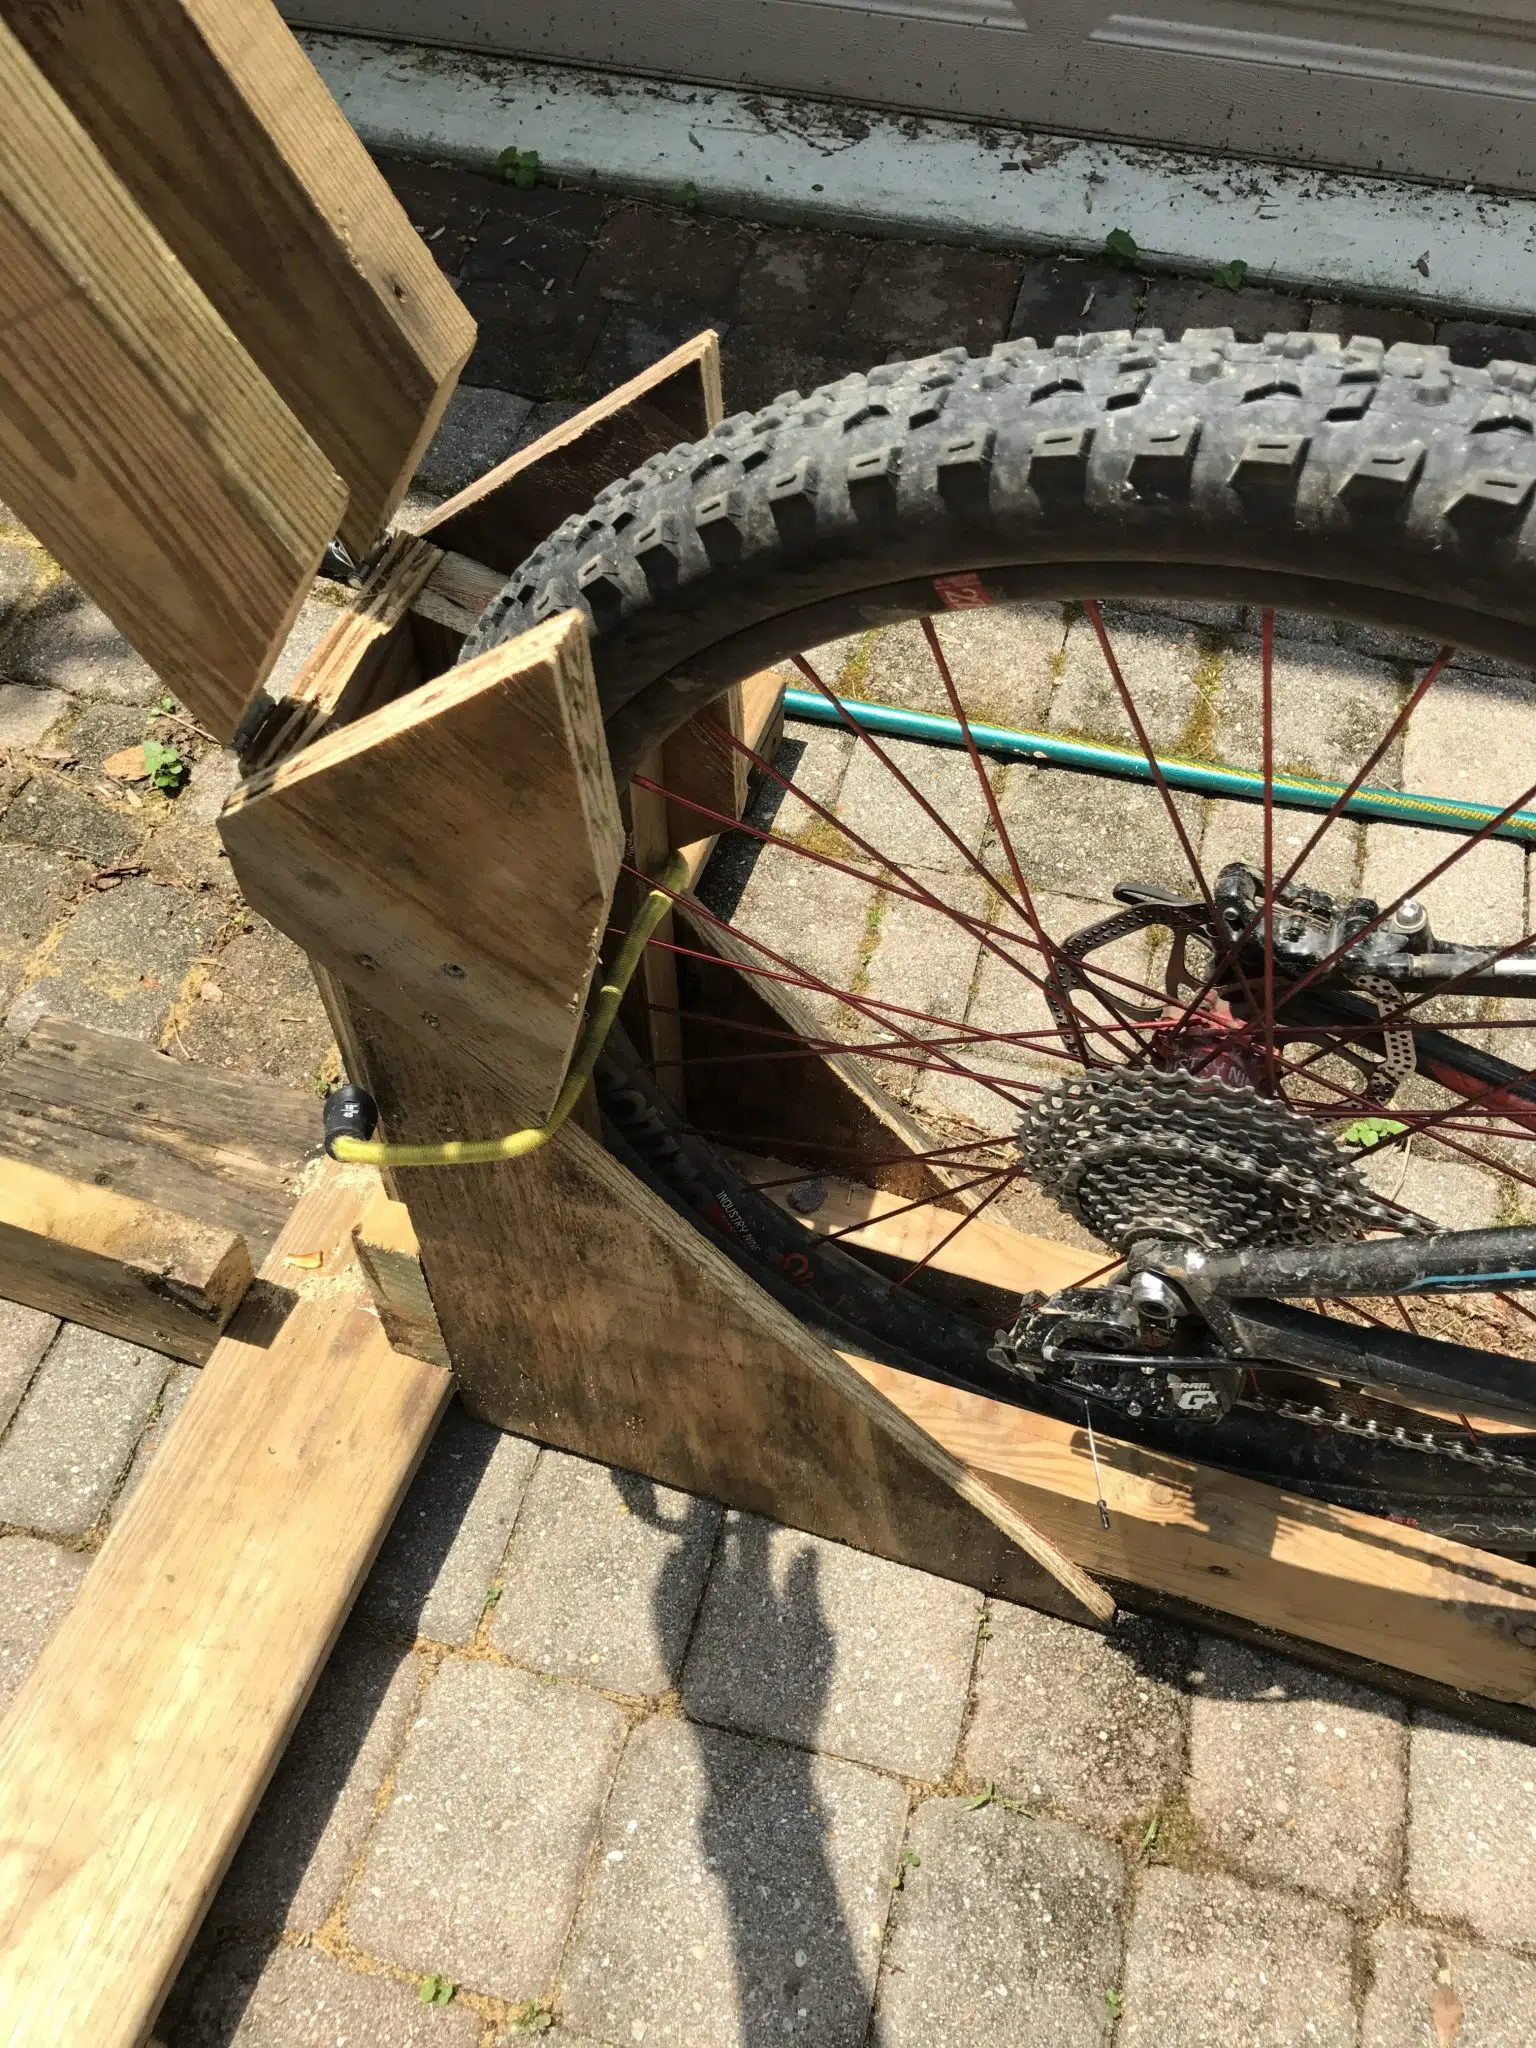
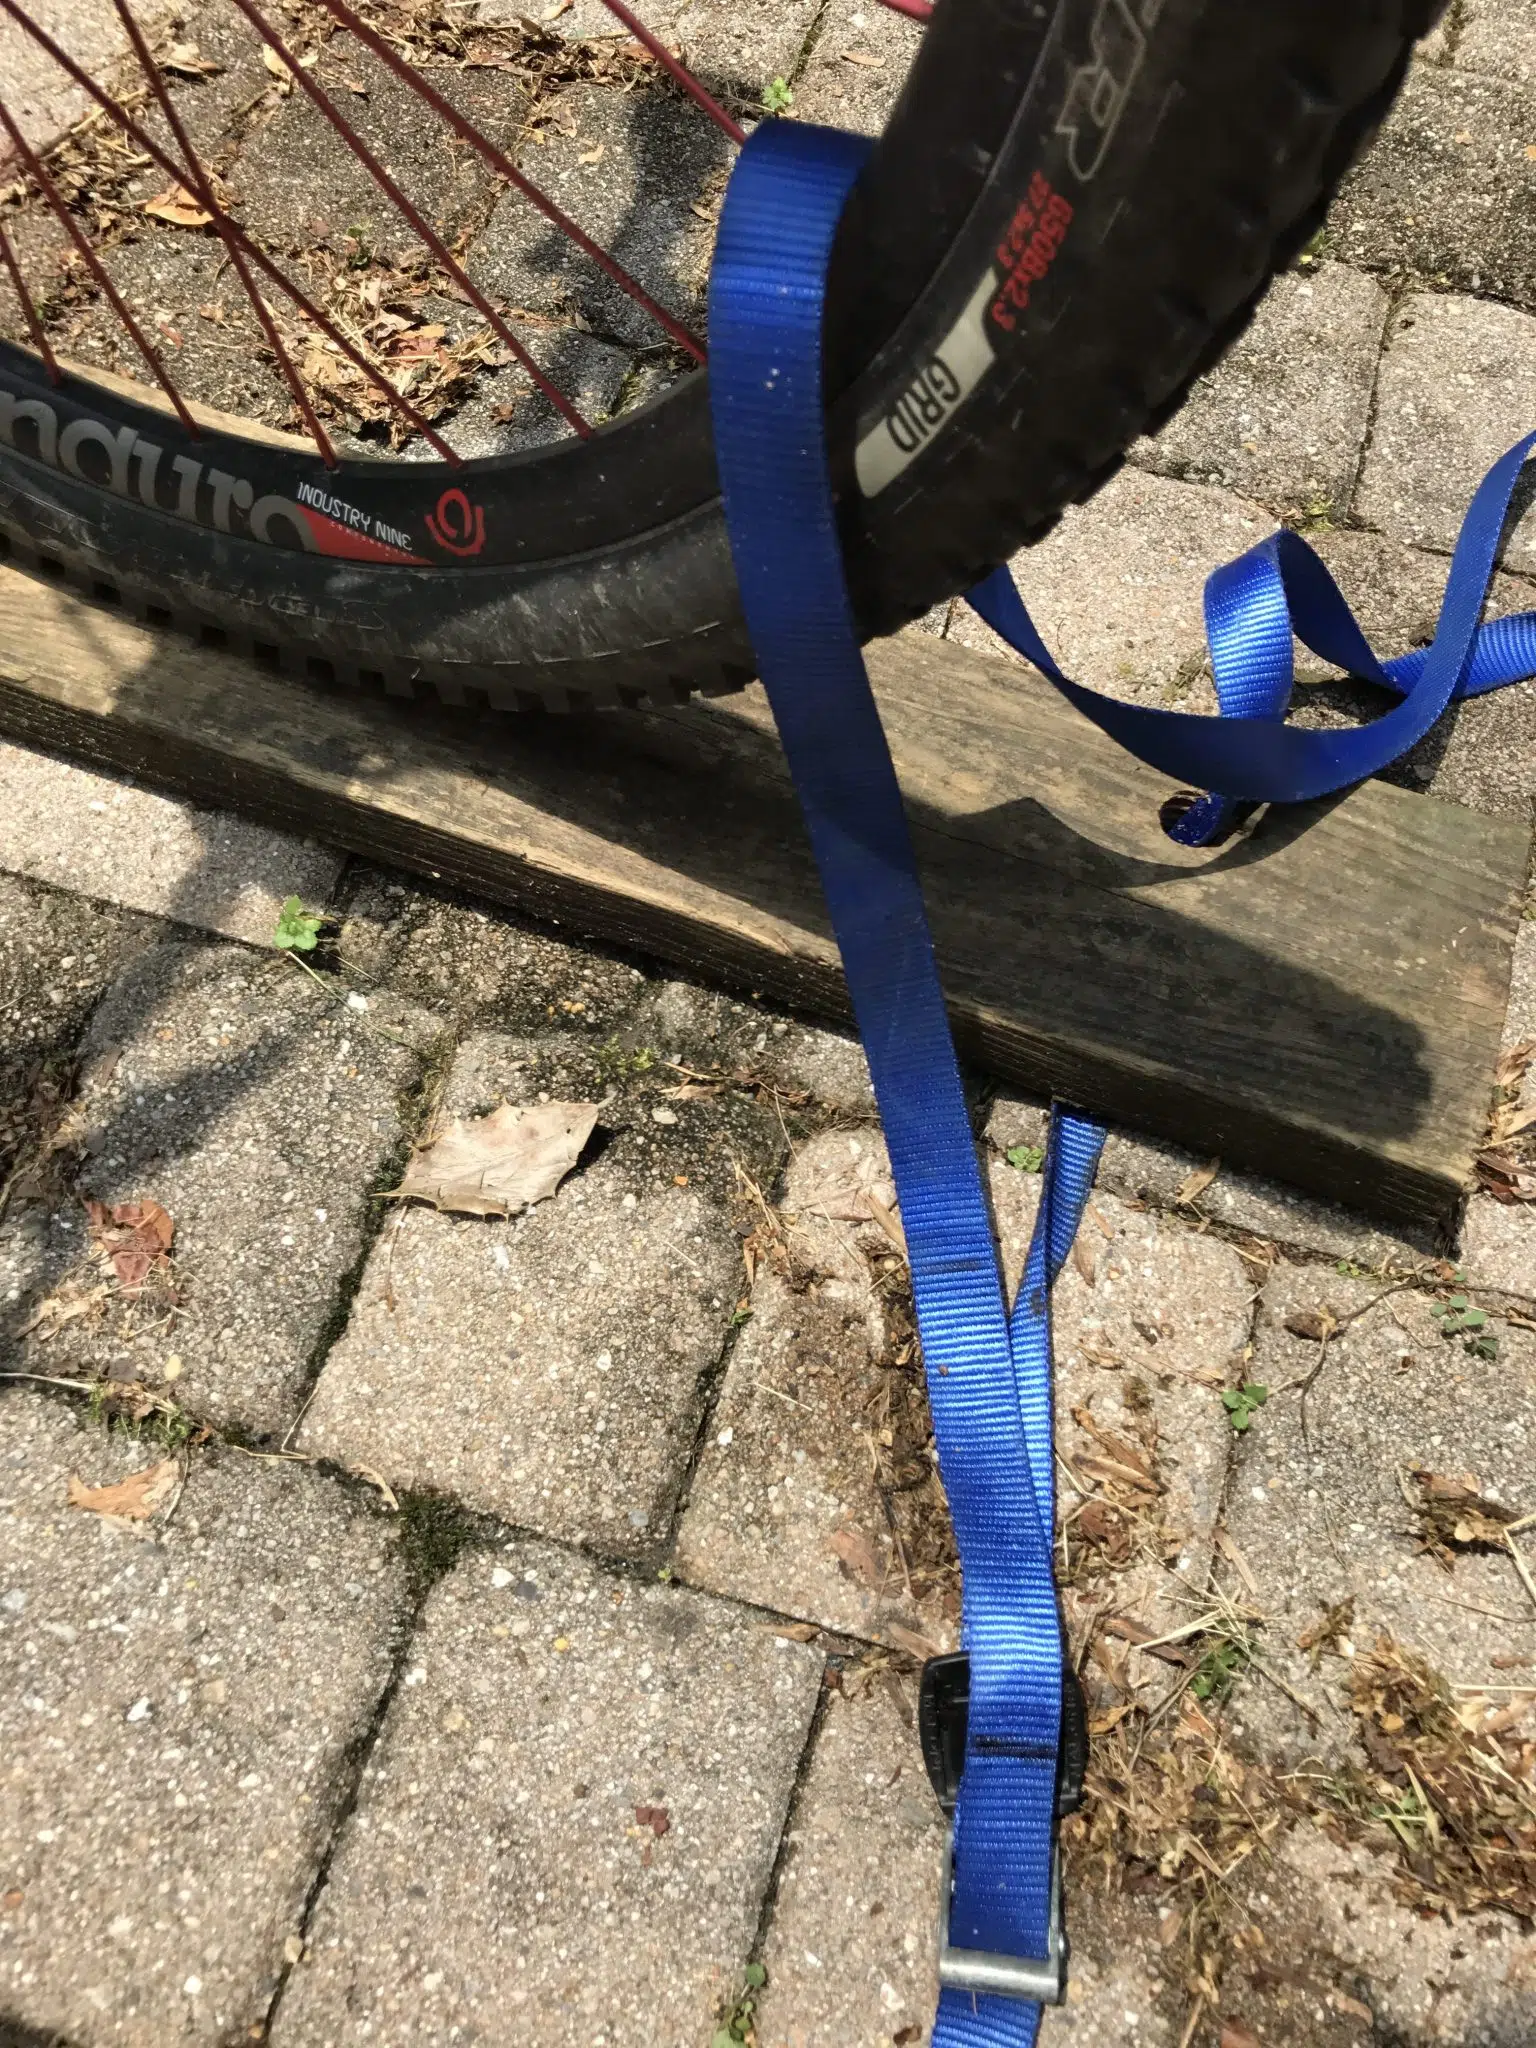
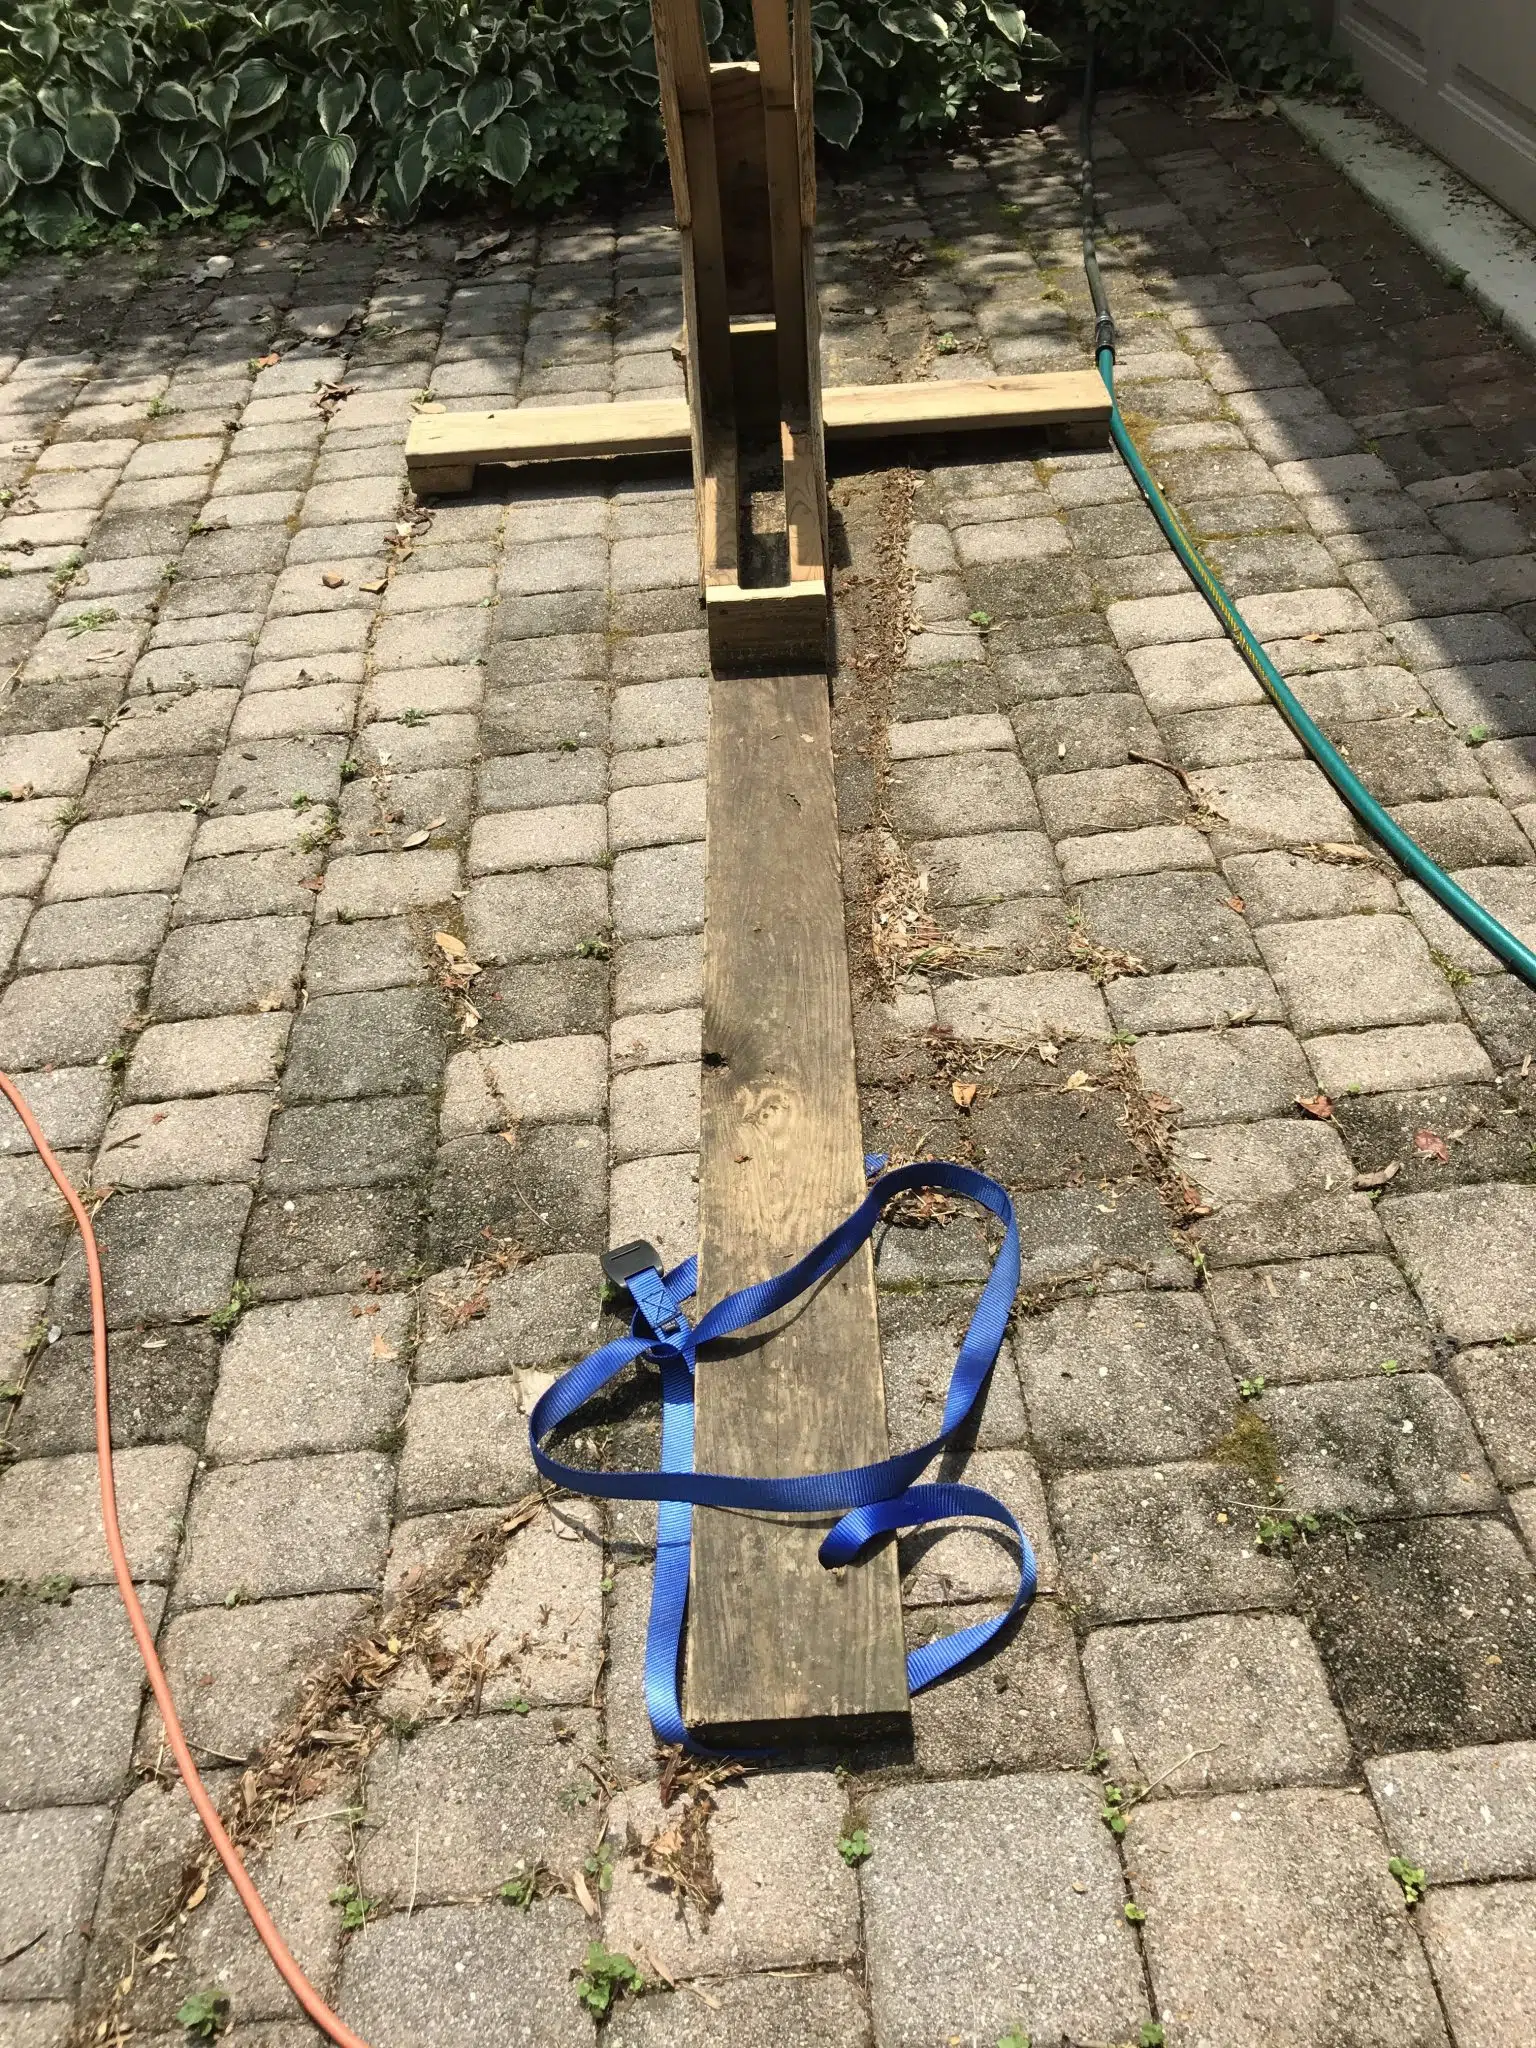
This manual machine was designed and built by avid mountain biker (and a Civil Engineer), Steven Andraka from Crownesville, Maryland. Steven built this machine to help his wife, Jane Andrake, get her manual on point! Take a look at the following detailed photos for inspiration on building your own manual machine.
Here are the steps to help you once you’ve got your machine built (or on the trail if you’re not so mechanically inclined).
1. Ride at jogging pace, or a bit faster. You want to go fast enough to provide momentum, but not so fast that you can not control yourself.
2. Start in a ‘high’-ready position (standing neutral) above the saddle.
3. Pumping down towards the saddle, then just as you are about to hit the saddle, shift your weight back. You objective is to make an L with your body movement, down and back.
4. Lock your arms out and all the handlebars to come back with you.
5. Once you’ve cleared the obstacle (or are done with your attempt), bring your weight back to the neutral or ready position. This will bring the front of the bike back down.
Still having trouble with your manual? You’re most likely having trouble with one of the following …
1. Going too big, too fast does not work. Start small and work to feel the balance point on the bike.
2. Use your weight, do not pull up with your arms.
3. Shifting your weight back is what brings the front of the bike up (“lofting”), not ‘pulling’ the bars up (“lifting”). If you pull the bars up without shifting your weight back, the front will quickly go back down.
4. Do not cut the corner. Down and back at the same time, does not work. Think L shape, down THEN back.
5. Are you getting the front end up, but it wont stay up? Lower you center of mass by bringing your hips down closer to the rear wheel.
6. If on the the trail, keep a finger over your rear brake at all times. If at any point in this move you feel you are going to flip off the back of the bike, applying the back brake will bring the front wheel back down.
7. Once you’re ready for the trail, practice this skill by placing a stick on a slight downward (smooth) path and see how long / far you can hold the wheel lift. Some speed will keep the bike more stable.
After some focused practice on this skill you’ll be riding manuals all over the place – good luck!
We’d love your comments below — what do you think of Steven’s creation?


Came here looking for instructions on the build per the instagram post.. could we see more details on that?
Hi Curtis! We just updated the post to include more detailed photos (above). Please comment with any specific questions you have and we’ll get you answers!
We just added a download link for the Manual Machine blueprints .. see above to get the blueprints!
Can you tell me where is the download link?
Never mind. Thanks
Awesome, this is exactly what I need, practice at the balance point. How much for Steve to write up some blueprints so I can take this to my local carpenter to have him build one up for me? I’m totally serious by the way.
Great question! We just sent an email over to Steven to ask if that’d be something he’d be willing to do. We’ll post an update as soon as we hear back. 🙂
Wish I could RENT one of these…
Ya, me too!!
Another who’d be interested in blueprints!
Good news — plans are in the works! We’ll share them with everyone as soon as we get ’em from Steven.
Manual Machine blueprints are now available!
Any chance of getting those blueprints? Manual needs help!
Hi Matt! There’s a form in the body of the post above — just put in your email and they’ll be sent right out to you!
I don’t see any form to fill out for the blueprints? Could they be emailed?
Thanks for the message Anna / we corrected the form and will send you the plans right away!
One up on the blue prints. Can’t wait to make one it’s been killing me not being able to manual
That’s killer would love to have one . Blueprints would becawesome
Great news on getting blue prints made up. That’s more of what I was asking for.
I can’t wait to make one so I can really learn just how far back to go.
Just signing in so I can find out when the blueprints will be available..
Take my money.
Would love the blueprints also….
Thanks Stephen for such a great idea. I was able to build one a few weeks ago in just a couple hours from your pictures, I substituted metal in a few places as I’m blessed to have a full shop with tools and welders. I would be happy to submit pictures but can’t find any links to upload them.
Thanks for this. Any idea, what is the max width rear tire you can use with this design?
Manual machine is a great idea! How about a bunny hop version that allows rear wheel to travel vertically but constrains lateral and fore/aft movement?
I have been doing this with an indoor trainer. No strap. The con to doing this on an indoor trainer is it gets loose at the skewer.
I like the strap idea, and I will add that to mine. As for the rest I am too lazy, and will continue to deal with the skewer loosening up. I still dont have my manuals performed naturally yet.
Thanks for posting, keep sharing.
exactly! and i agree, the front wheel strap is a good addition.
A small indoor trainer works well to get a feel for the body position and the leg motion but it doesn’t help with balancing side to side or feathering the brake. its also better to allow the rear wheel to spin so you can readjust the pedals properly. I can do a good wheelie but still the manual eludes me because i always grab too much brake. i think i need some kind of extra wide wheelie bar attached to my bike so it stops me from falling over sideways and backward but leaves enough “play” to learn the balance. Im going to set mine up again today and add the front wheel strap. good luck all.
In order to do a real manual vs. a wheelie, you have to take the chain off the chainring. With the back wheel locked down, your foot pressure on the pedals drives the front of the bike up and makes it much easier to balance. Try it both ways to see what I mean.
Thanks, that makes sense. I did see another manual machine demonstrated with the chain off and wondered about that.
Where can I download a copy of the blueprints?
Oops .. sorry about that, the download form is working here (towards the top of the article) : https://ridelikeaninja.com/2017/07/05/introducing-the-manual-machine/
I made one of these, and I am happy to report that I am making progress
Thank for blue print
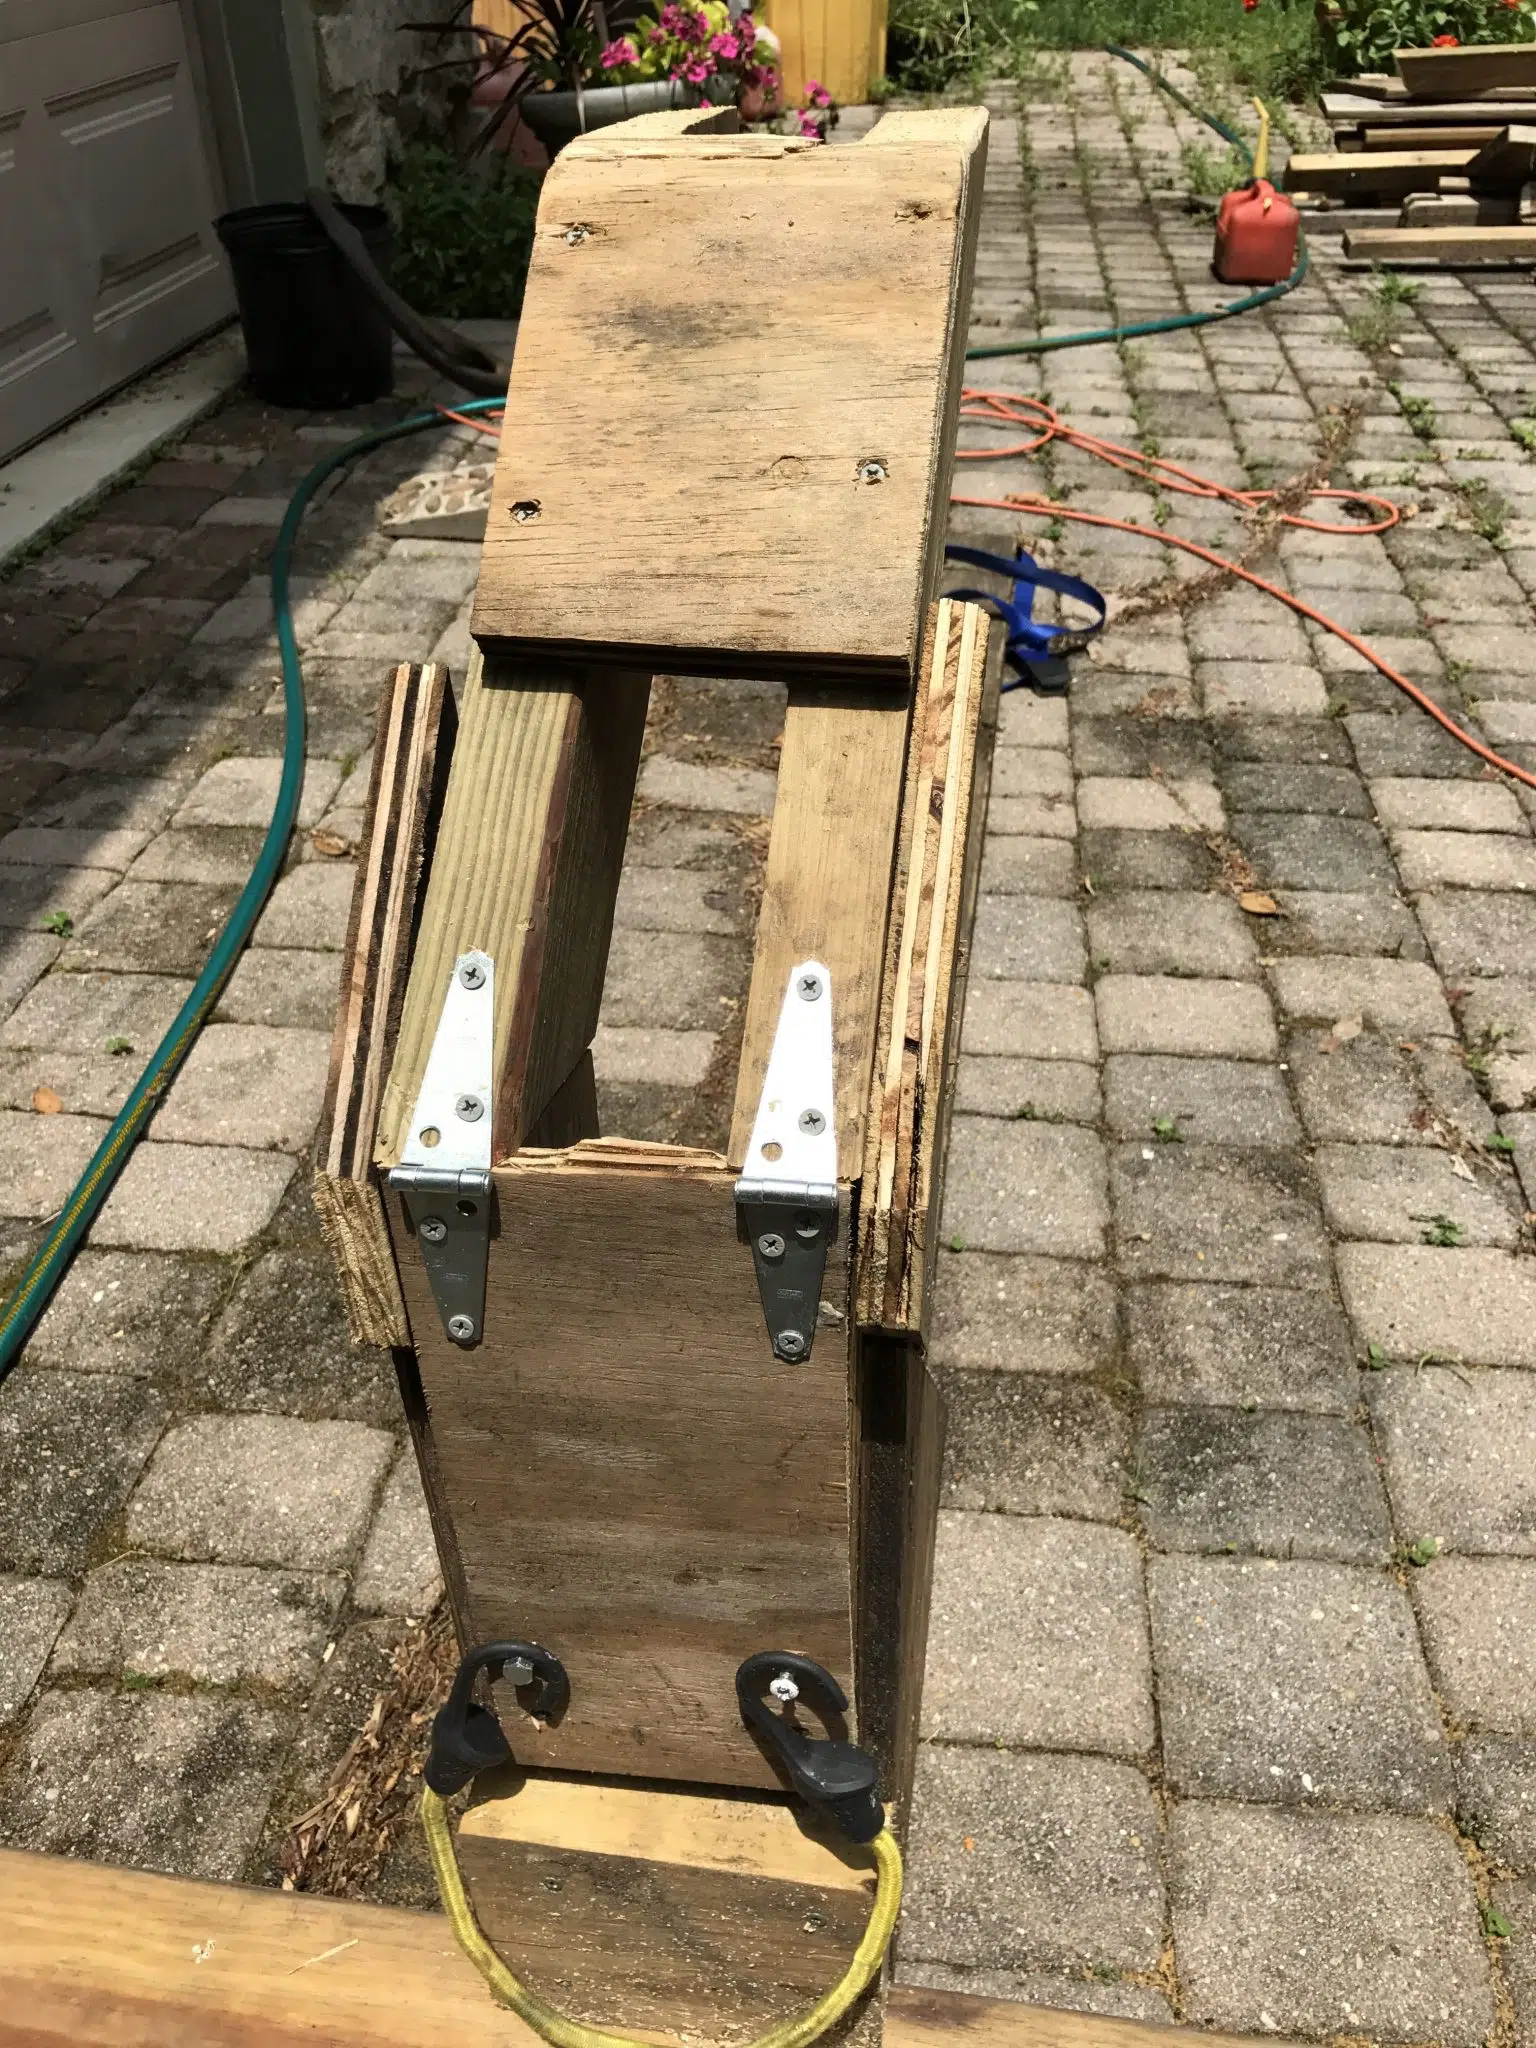
Why does it need the hinge? Seems like you could just back into it and strap the rear wheel in.