Track standing is one of those old faithful mountain bike skills; reliable, practical and just a little showy. The track stand will help you to tackle technical sections of trails, navigate city riding and of course, show off for your friends.
Here are a few practical applications for a track stand:
- Pause at the top of a steep transition to scout your landing zone before rolling in – look before you leap!
- About to jam that front wheel into a rock? Use your track stand to come to a stop, pause, and reorient your wheel to go around the rock….and you’re off!
- Road intersection? No need to put your foot down – track stand until green light says go!
…and now here are 8 steps to help YOU master the oh-so-useful track stand:
1. Lower Your Saddle
Go ahead and drop your saddle to get it out of the way. You should be standing on the pedals for this skill, not sitting on your seat. Speaking of pedals, if you’re new to track stands we recommend practicing on flat pedals if you’ve got ’em.
2. Go Up!
Find yourself a (preferably grassy) area with a slight uphill slope to practice your track stand. To get started, roll up the slope in a standing position.
3. Best Foot Forward
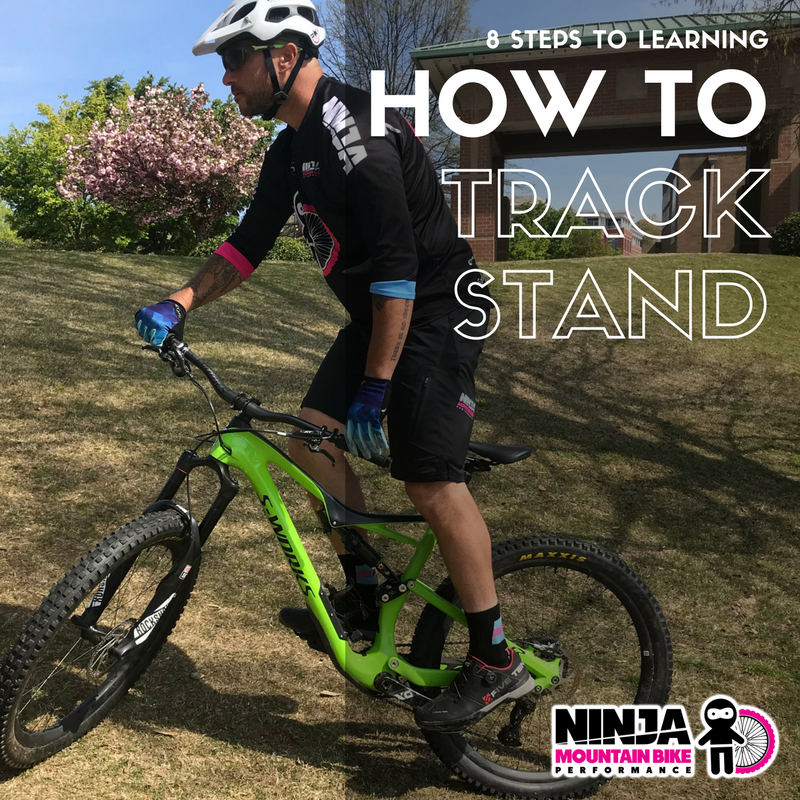
Come to a stop with your strong foot on the forward pedal while turning the front wheel on a forty five degree angle up-hill. This skill is easier to learn if your front foot is on the uphill side of the bike. In that case, you’d be turning your front wheel towards your forward foot.
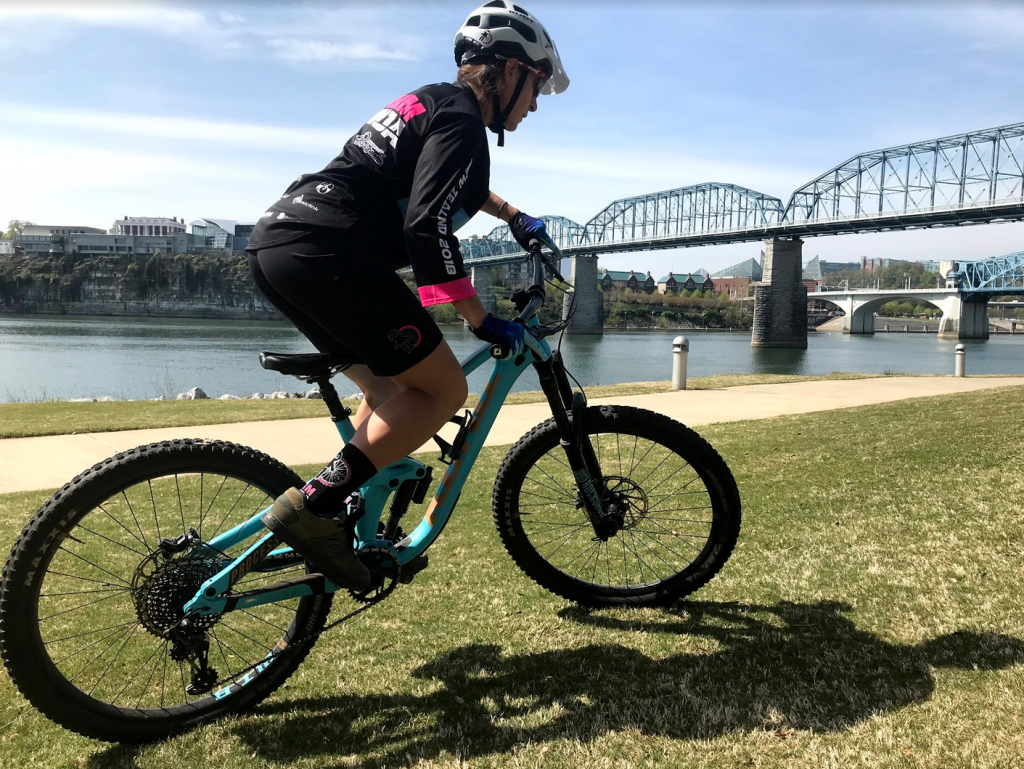
Note: In the photo above (of me), I have my front wheel turned down-hill, which is much more difficult. And, in the photo of Hannah Levine, her front wheel is turned up-hill, with her up-hill foot back — which is again, more difficult.
4. Stay Under Pressure
Let off your brakes and maintain pressure on your forward foot as you allow the bike to roll slightly forward and back. Keep in mind, you are not trying to simply stand on the pedals and balance, you are using the force on your forward pedal to allow the bike to roll forward and back to find balance. Start by mastering a track stand without using your brakes. Once you’ve got that mastered, progress to utilizing your brakes. This will simulate the experience of needing to stop and maintain your balance in the middle of a steep technical climb.
5. Head Up!
Focus on a fixed point in front of you – that will help you keep focused and give you a stationary reference.
6. Breathe!
Stay relaxed, maintain a light grip on the bars — knees slightly bent. Make sure you aren’t trying to grip that saddle between your legs – maintain a nice wide athletic stance.
7. Less is More
Over time as your track stand improves, work on making that back and forth motion smaller and smaller. As your track-stand improves, you’ll need less and less forward and back movement.
8. Make your exit
When you are ready to exit the track stand, keep it controlled. No flailing forward or setting a foot down. Simply orient the bike in the direction you want to go and pedal out.
– – – – – – –
Practice, Practice, Practice!
Don’t get discouraged. Track standing, just like any skill, takes time and practice to perfect. Practice until you can hold the track stand for a few seconds and with control, roll out. Once you’ve got that down, take it to the trail and put your new skill into action.
Happy track standing!


hey, not sure I understand step #3. It seems to state that the wheel is 45 degrees in the direction of your front foot. But, both pictures show the wheel pointed “away” from your front foot.
That’s an excellent observation Chris! When first learning to track-stand, we’ve found it’s easier when your front wheel is pointed towards your foot. However, we should have mentioned, that in *all cases* your front wheel should be pointed up-hill.
So, if your riding right foot forward, it’d be potentially easier to learn to track-stand pointing your wheel to the right, up hill. Makes sense?
Richard, It seems that you didn’t address the point of Chris’s question (same question I had). The photo of the rider demonstrating the track stand has LEFT foot forward and has the front wheel pointed uphill to the RGHT; hence away from the forward foot rather than towards it. So, the photo contradicts your description of the technique in step #3. Please address the contradiction. Is the rider in the photo simply not doing what you recommend?
Hi Mike — I just re-read the article and see your point. That really wasn’t clear. I edited #3 above to hopefully provide clarification on this skill re: wheel and foot placement. We’ll head out shortly to get some better photos (and video) to clean this ‘how-to’ up a bit. Thanks so much for your feedback / comment.
With the front wheel headed uphill you can move forward by pedal pressure and backward by removing it. How do you accomplish both movements with the front wheel headed downhill?