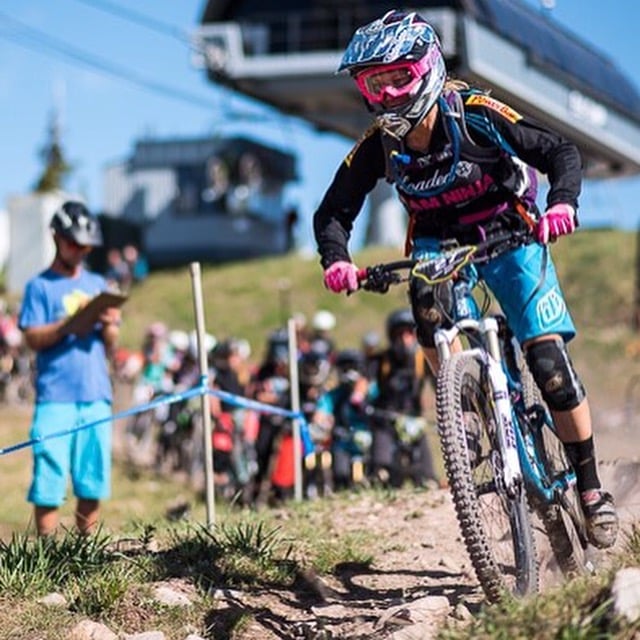
10% off Jump Ramps | Code: MOBILE10 | Exp. Fri 4/19

Ninja Mountain Bike Performance - Skills Clinics, MTB Jump Ramps and Bike Stands

Everything you need to know about racing Enduro.

By Paula Evenson | TEAM NINJA ELITE

Paula Evenson | TEAM NINJA ELITE

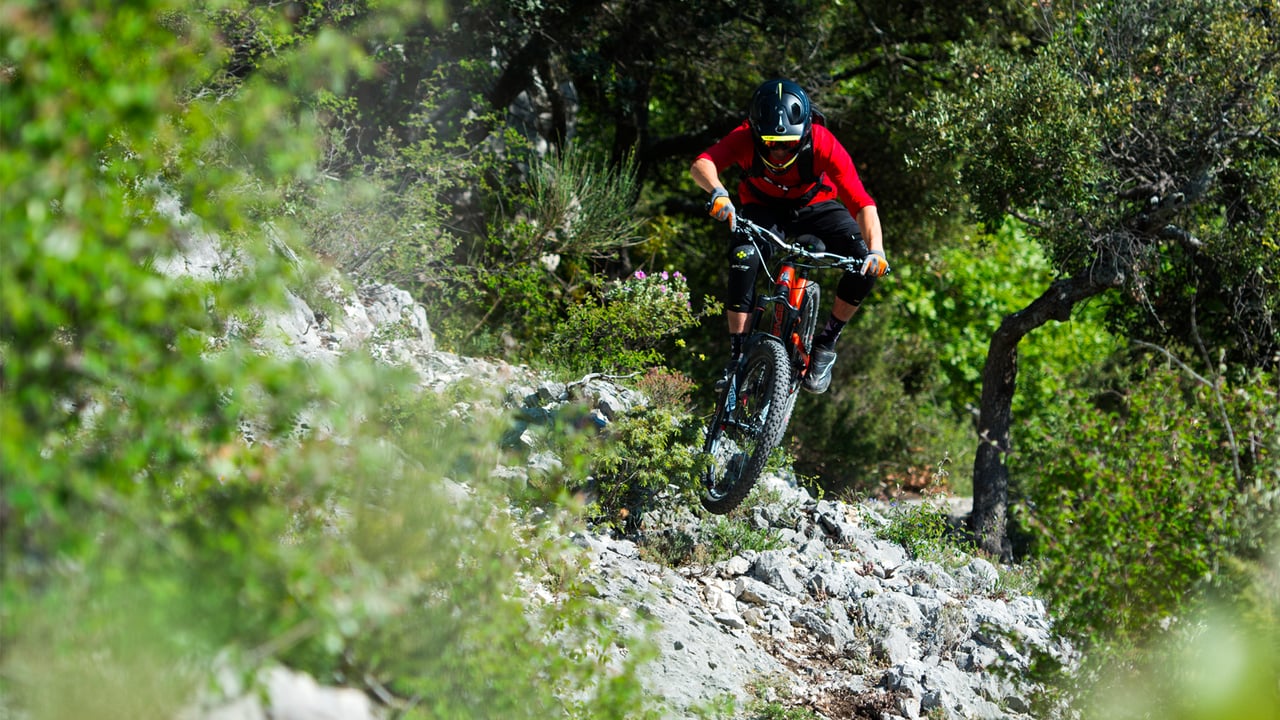
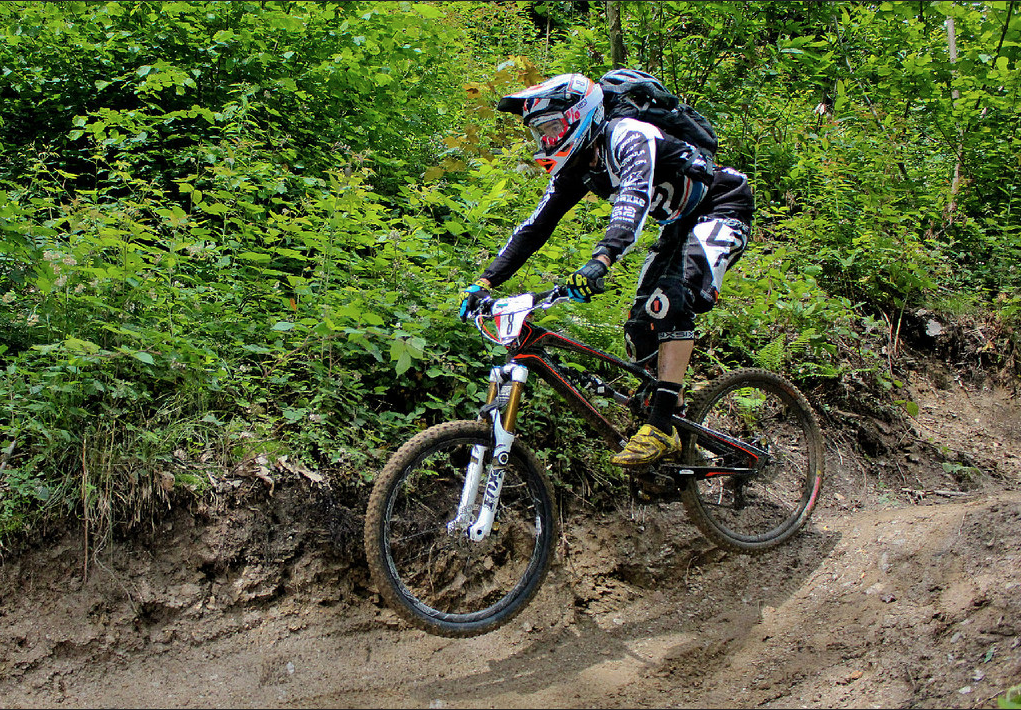
When asked, “what is Enduro”, several notions precede my smile. It’s socializing and gnarly singletrack, it’s podiums and microbrews, it’s technical ability with strong fitness, it’s a full day in the saddle, it’s tight lines and loose minds, and it’s still the biggest buzz in biking. With untimed uphill transfers and timed downhill stages, it’s perfection, right? It can be 3-5 stages a day, and involve multiple days of 3-5 hours on the bike. It’s more technical than XC. It’s more racing and less bike than downhill. It melds speed, strength, friendly atmosphere, endurance, adrenaline thirst, and a little bit of courage. It’s drops and jump sections. It’s essentially downhill racing on trail bikes. At the top levels, I honestly don’t feel that it’s any safer than downhill. If suffering and stamina are what’s fun about XC, then thrill and risk are what’s fun about enduro.

Understanding the Format – Which Races?

Erin Machan | TEAM NINJA :: Kenda Cup 2016, Big Bear – California

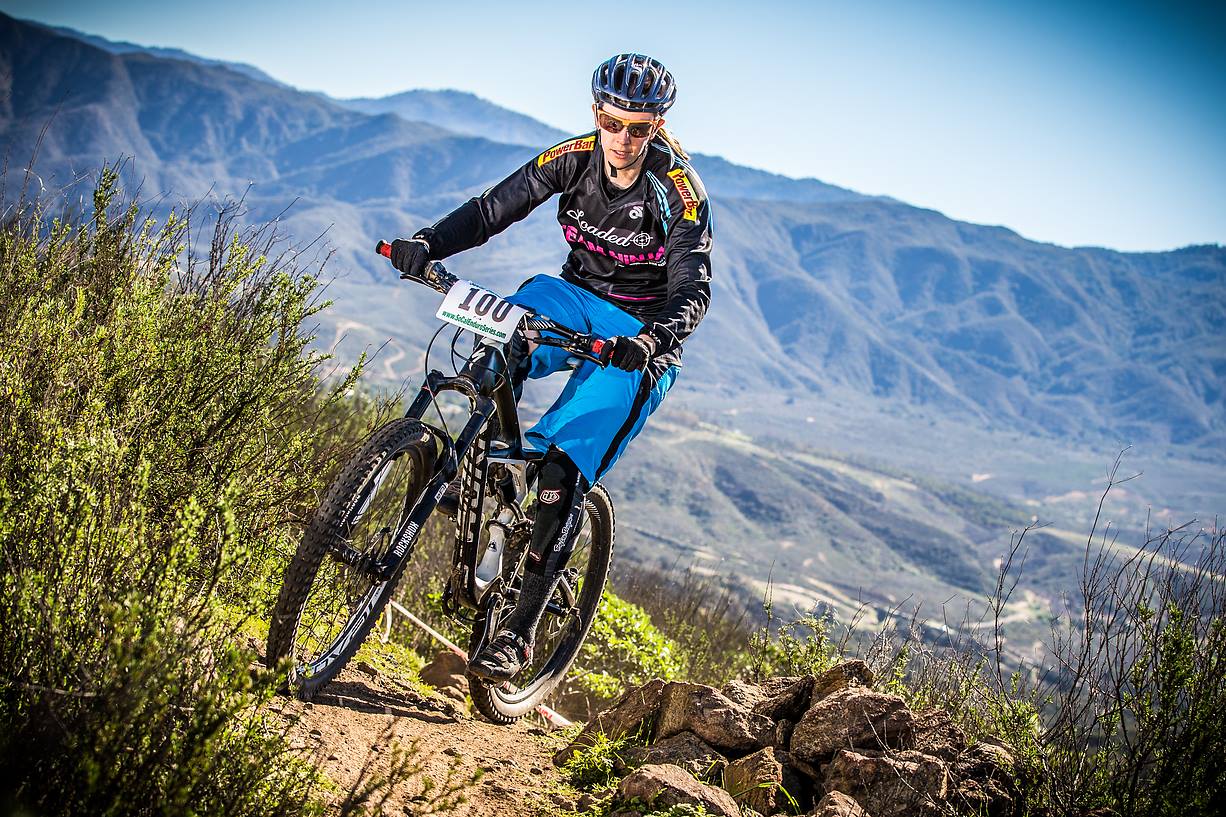
Enduro racing has sprouted a menagerie of cyclists, and the venues can be equally diverse. Ok, you most likely won’t see a beach cruiser dropping in, but this format really is for almost everyone. If you do like fun and want to try out enduro racing, once you tone down the perma-grin, you’ll want to consider some things to help you pull through your first race. The inclusivity means there is plenty of competition and serious racers out there, but there are also people on XC bikes giving it a-go and having a blast. Keep in mind as you pick a venue that there usually aren’t separate pro lines, you’ll likely be racing on the same runs as the top athletes. I’d suggest starting local at smaller race venues where you know the terrain, and build up to the big mountain alpine events. Stage formats vary based on what’s available with the local climate. The diversity of venues lets you pick a race geared for your riding style. More technical riders look for events in areas that have DH type trails or bike park features. Crazy pedallers look for events in flatter areas. Most enduro racers want more downhill gain over uphill pain. Promoters typically aim for a less lumpy race profile with no more than 10-20% uphill per stage. How you get to the top of each stage isn’t a set rule. Some races use ski lifts and the main physical elements are the long descents. In other races the steep transfer is by your own power while you chew the handlebar, and some races use a combination of both.

Practice Runs

These can be limited. Be sure to research this ahead of time. Stages often are not marked or announced until close to race day. On average, most riders see one practice run per stage. Using a helmet camera can be helpful for this reason. Stop and session the technical bits when you do ride through a stage.

Transitions / Liaisons

Shelly Rolandson | TEAM NINJA, SoCal Enduro

You want to save your energy for the timed descents, so pace yourself on the transfers. Know how far you’re going and the cutoff time to get there. Stop and rest if you have time. This is also where you’re going to hydrate and fuel, so have a plan before the race and pack appropriately. Everything counts on a long day of racing.

Timed Starts

Paula Evenson | TEAM NINJA ELITE

Most races separate the field by Cats, and drop a rider into a stage every 30 seconds or so. A timing chip starts the clock and stops it once you reach the bottom of the stage, and all your stage times are accumulated to determine placement. On longer stages, it’s not uncommon to get overtaken by a faster rider, or to have to pass a rider. Call out when you are passing and on what side. Pull over in a safe area to let a faster rider through. Don’t be an arse, and don’t be a road block.
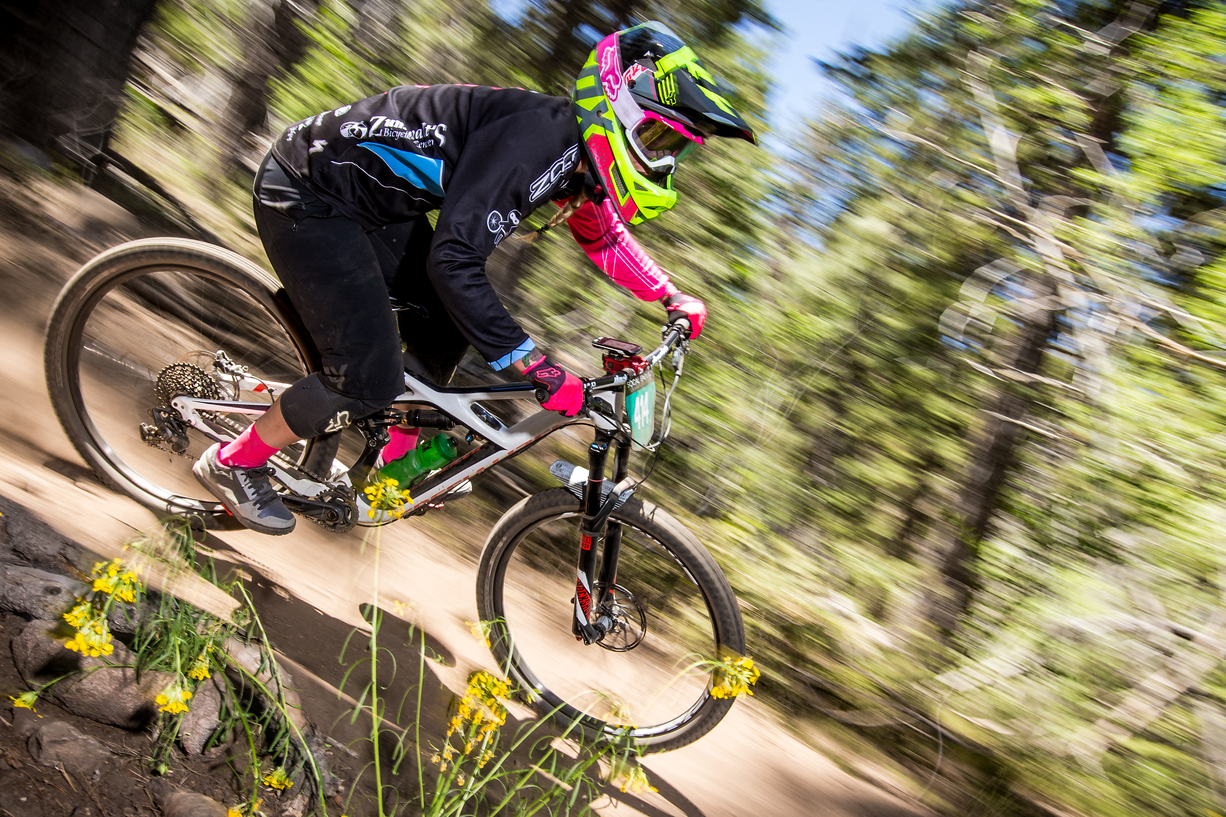
The Bike

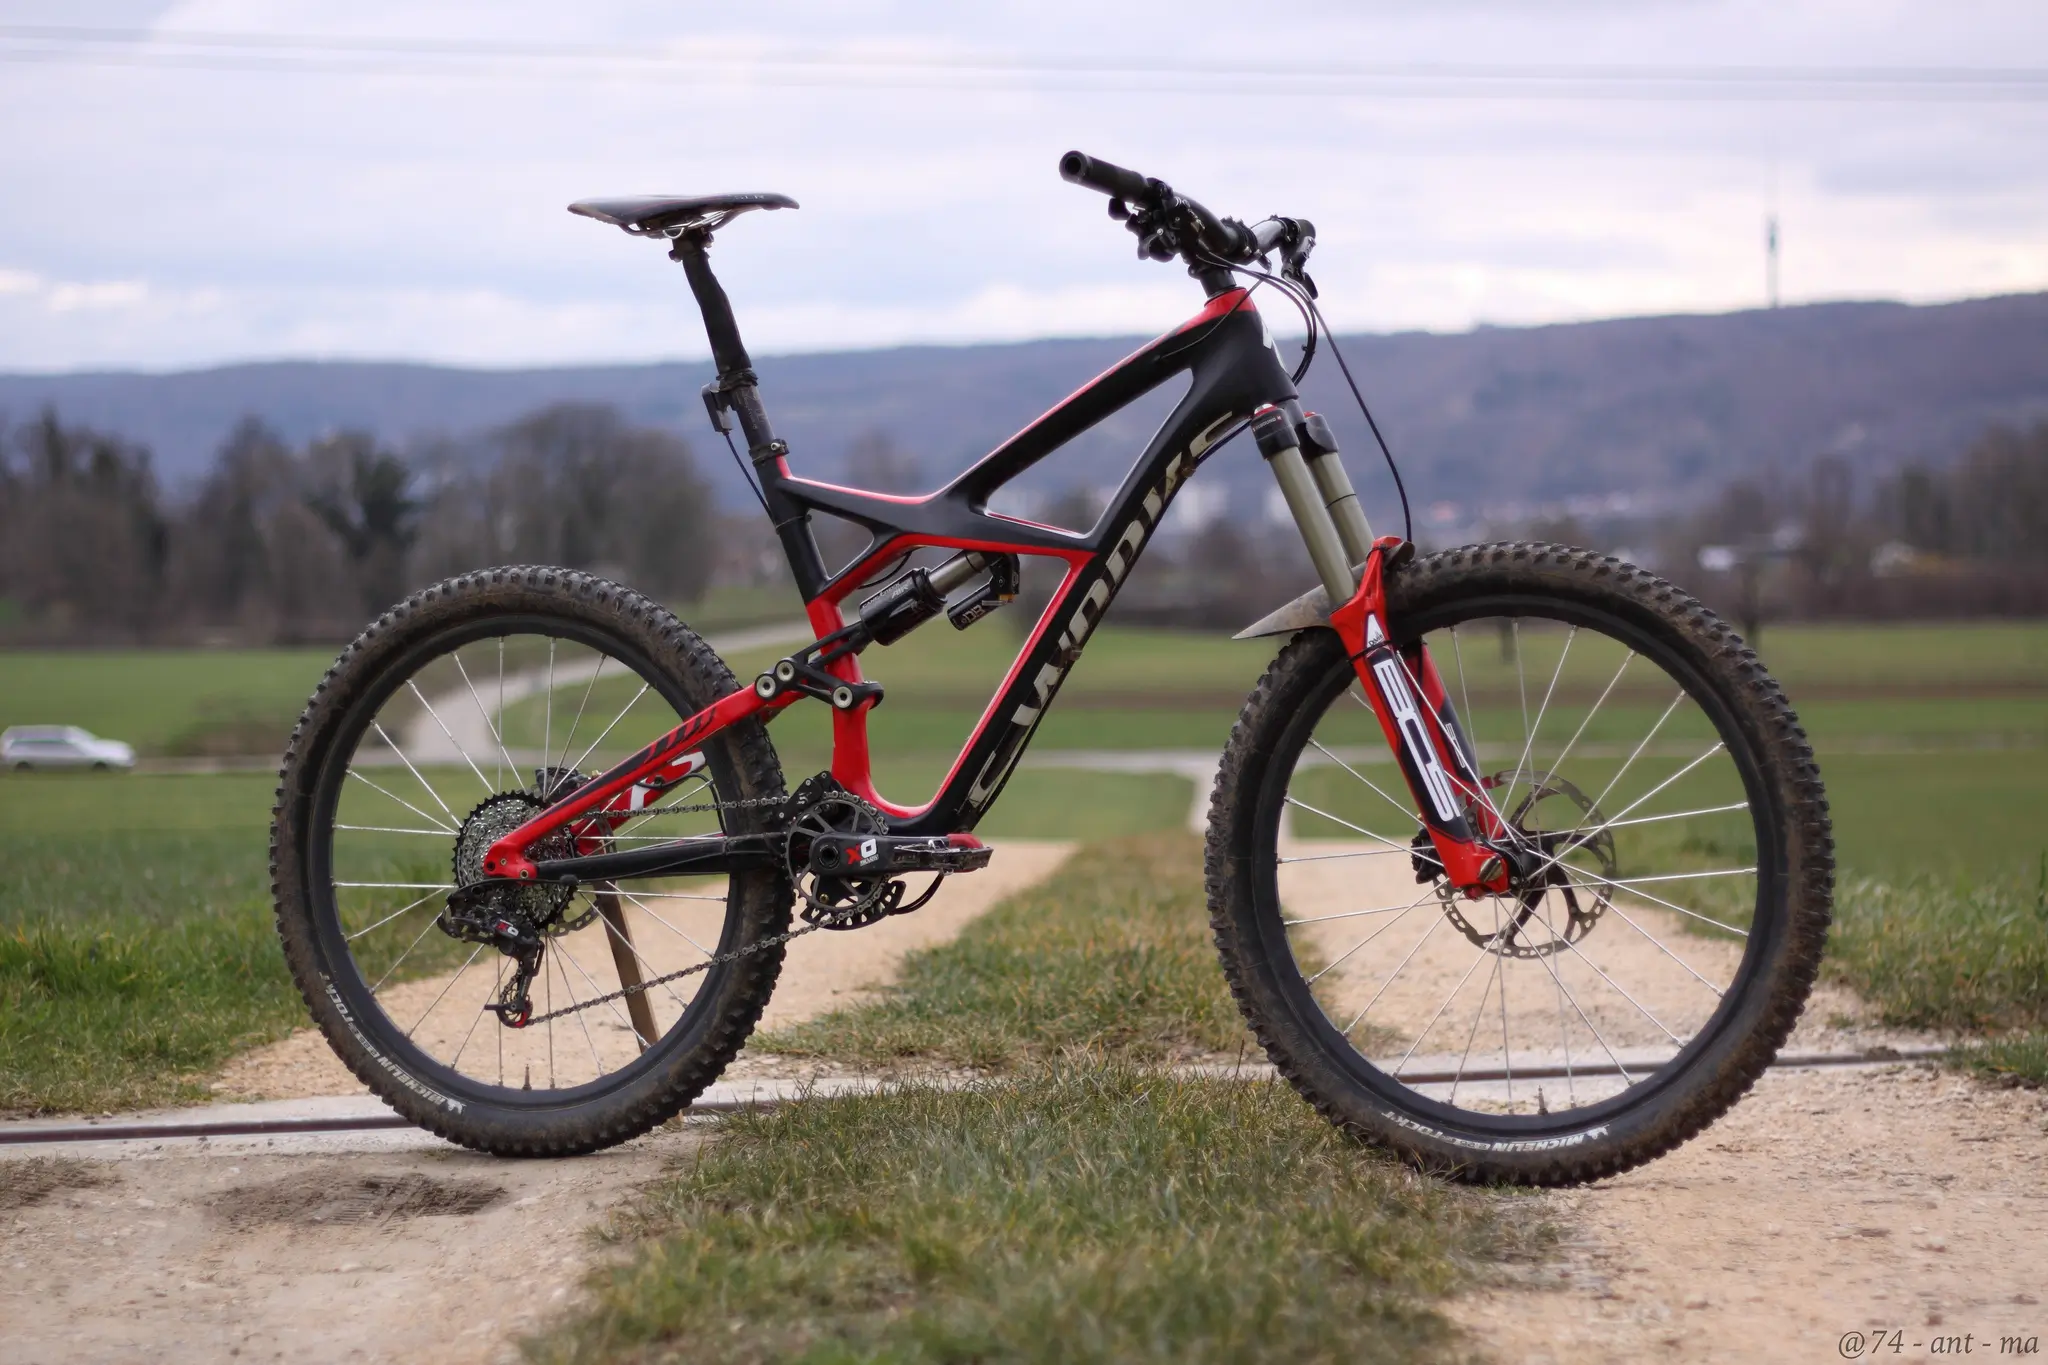
This colossal battle is about weight v. function. No one likes to ragdoll through a rock garden on a hardtail, but bigger bikes are killer on the climbs and that exhaustion can diminish your downhill performance. Regardless, whatever bike you currently own can work to get you started!
Full suspension bikes are the norm. Riders typically use a longer travel suspension on the rear and front, ranging from 140mm to 170mm of travel. Beefier bikes are more stable and can mow through rough stuff and handle bigger drops and jumps.

You can typically get by on whatever tires are on your bike, but keep in mind that a sidewall tear can terminate your day right quick. Bigger volume tires add comfort and puncture resistance and are prevalent. It’s common to change tires to suit the conditions.

There is no getting around the importance of seat height. A dropper post isn’t a deal breaker, but it only takes one seated sprint with your knees to your chin to make you wish you had one. And getting caught behind the seat on a sketchy section is no picnic either.

Other weapons include clutch-driven rear derailleurs to keep your chain on through spirited topography, and wider bars with short stems for handling.
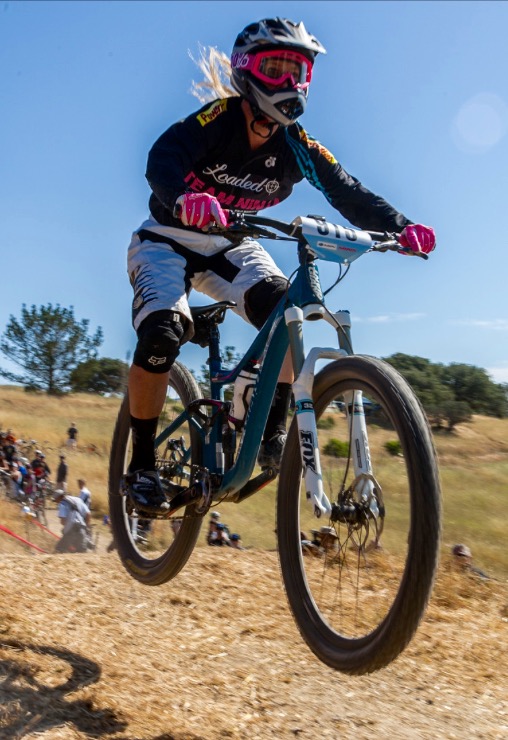
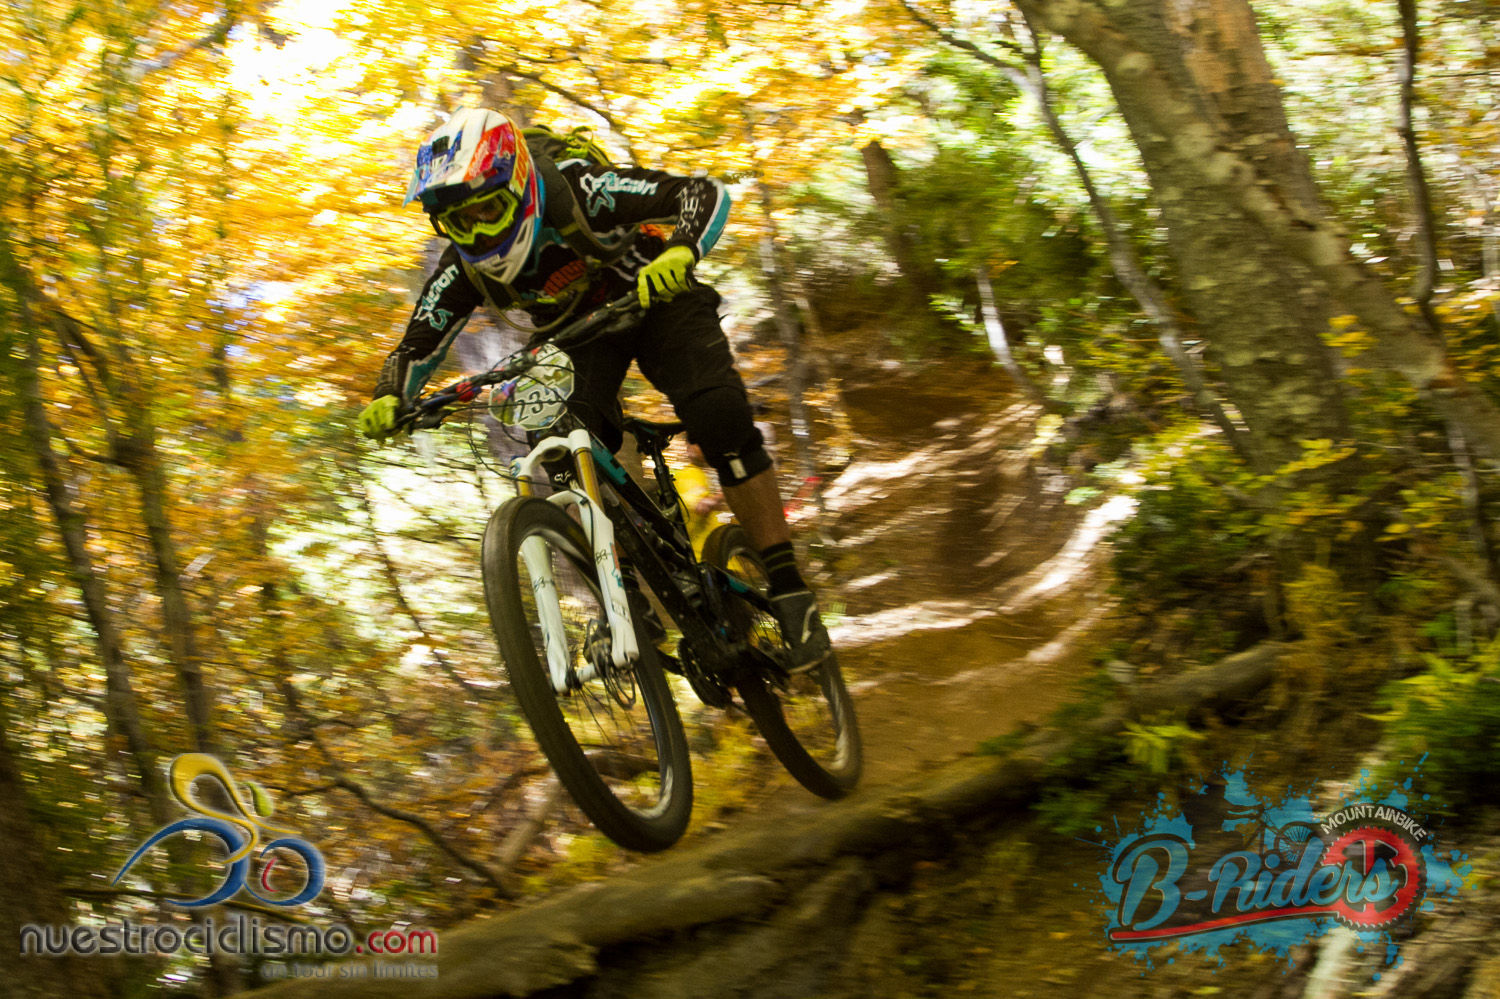
Helmets

Whatever you do, don’t skimp on the skid lid. This armament will undoubtedly be the only thing between your skull and utter demise at some point in your riding career. Some events require full face helmets on the timed sections, so check the regulations. Remember, there is no shame in wanting to go home with all your teeth. Sometimes riders opt to take a second open face helmet on their pack to swap into for the transfer sections to stay cooler. For a more pedally venue you’ll most often use a standard trail lid. Whether you opt to be a hero in a half shell, or have a face full, your helmet choice can depend on the temperature, type of event, most recent concussion, and terrain.

Goggles and Glasses

Goggles work well with a full face helmet and provide more protection from debris. But eyewear is largely personal preference; use whatever keeps your peepers safe, provides the best view of the changing landscape, stay on, and fits well with your helmet.

Kit Choice and Body Armor

Chillán, Chile 2014

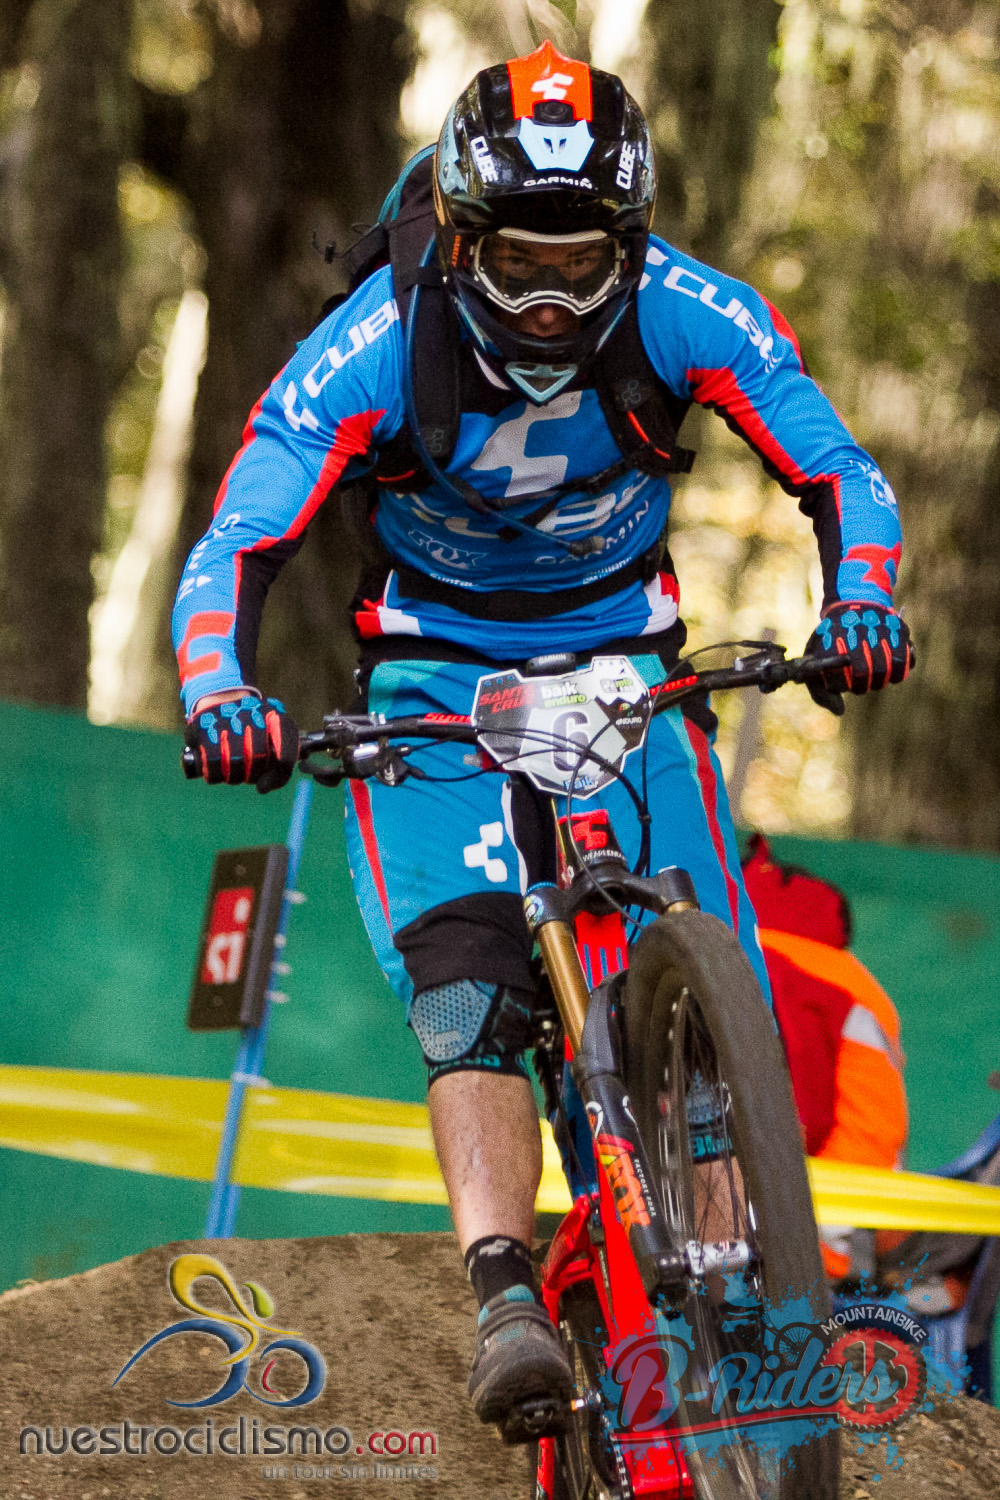
Enduro kits are made for protection. You regularly find baggy shorts with a removable chamois layer underneath, jerseys made to go over pads often with ¾ or full length sleeves, full fingered riding gloves that pair well with bike grips to keep you on it, and longer socks. You also need to protect your chest, ribs, spine, and whatever other areas you deem of critical significance. Thankfully, mountain bike armor continues to improve each season.

Chillán, Chile | 2014

For each race, consider your state of affairs and combination of circumstances to choose a mix of elbow/forearm pads, knee/shin pads, chest, back, and neck protection. Don’t forget the footnotes! The right shoe can range from grippy flats to power producing clipless options, often being slightly heavier duty than their XC cousins.

Gear Bag /Hydration Packs

Welcome to self-supported racing. What you carry with you for the day might be all you have, there is no outside assistance. Thus the reason for the using a pack (I really wanted to write Sherpa there). Stashing food and tools into pockets and on the bike are popular now too. Unfortunately, there’s also been a large revival of the fanny pack on the enduro scene. Yes, I know, it’s totally not fair that one format gets to have orthotic shoes AND a purse tied around your waist. This waistpack should be social suicide, but alas, function has beaten form with the freeride fanny and they now come with a hydration system built right in. After the race, throw on some Otomix and Zubaz and head to the squat rack. I digress. A pack affects your center of gravity. The higher you carry that poundage, the less stable you’ll be. Keep your mass low. I like to carry as much weight on the bike itself as possible. Some races have fuel stops in between stages so you can replenish your stores, other races drop you right down into the same area after each stage, keeping you from having to carry so much around all day. Some baggies, bibs, and protection layers offer pockets for storage as well. Regardless of how you choose to heft your gear, be mindful not to put solid doodads where they could pose a risk to you in a fall. Saddle bags and dropper posts don’t get along. Try taping a tube to your bike, an extra chain link to your brake cable, and experiment with using a bottle cage if the geometry of your bike allows.

Tools

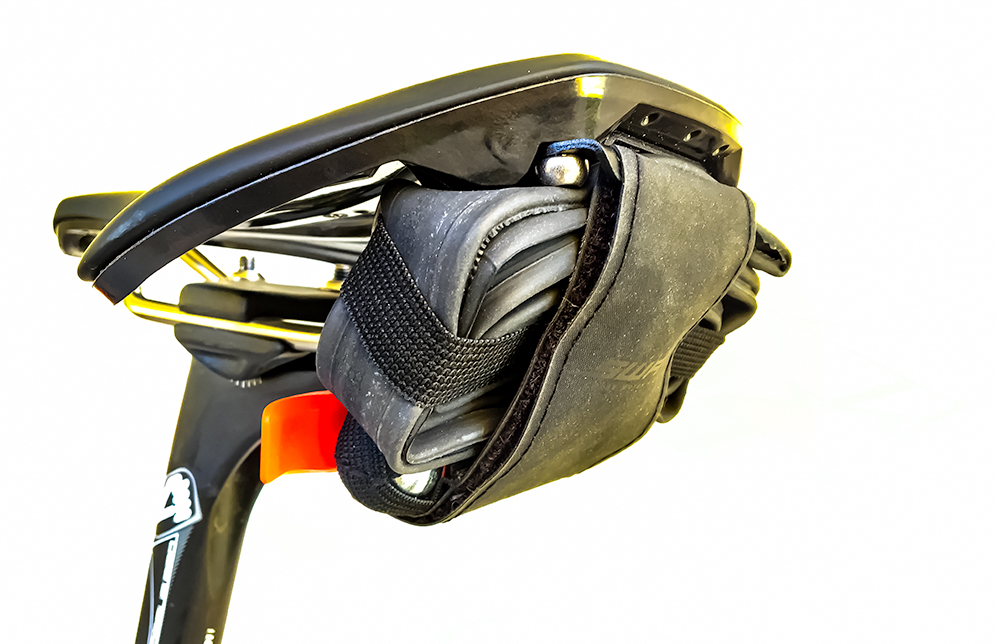
Unlike a downhill race, with multiple stages it’s possible to have a mechanical mishap and still do ok. Being primed for anything is vital. Even if you’re functioning tubeless, you need at least one inner tube. Also have a few tire levers, a CO2 inflator, and a few cartridges. A regular multitool is essential, add an 8mm hex key if your pedals require it. Other lightweight superheroes that can save the day include a spare chain link, a rear derailleur hanger, tire plugs, a small amount of duct tape, an extra bar end, and a few cable ties.

Post-Race Revelry

Photo: Daniel Dunn (www.enduro-mtb.com)
Paula Evenson | TEAM NINJA ELITE, USAC National Champion

With all its spectacular elements, it’s hard to pick a favorite ingredient with enduro. Just kidding, because, beer.  Now skedaddle, go experience the camaraderie for yourself! (And you’re welcome for not saying Enduro Bro anywhere in this article.)

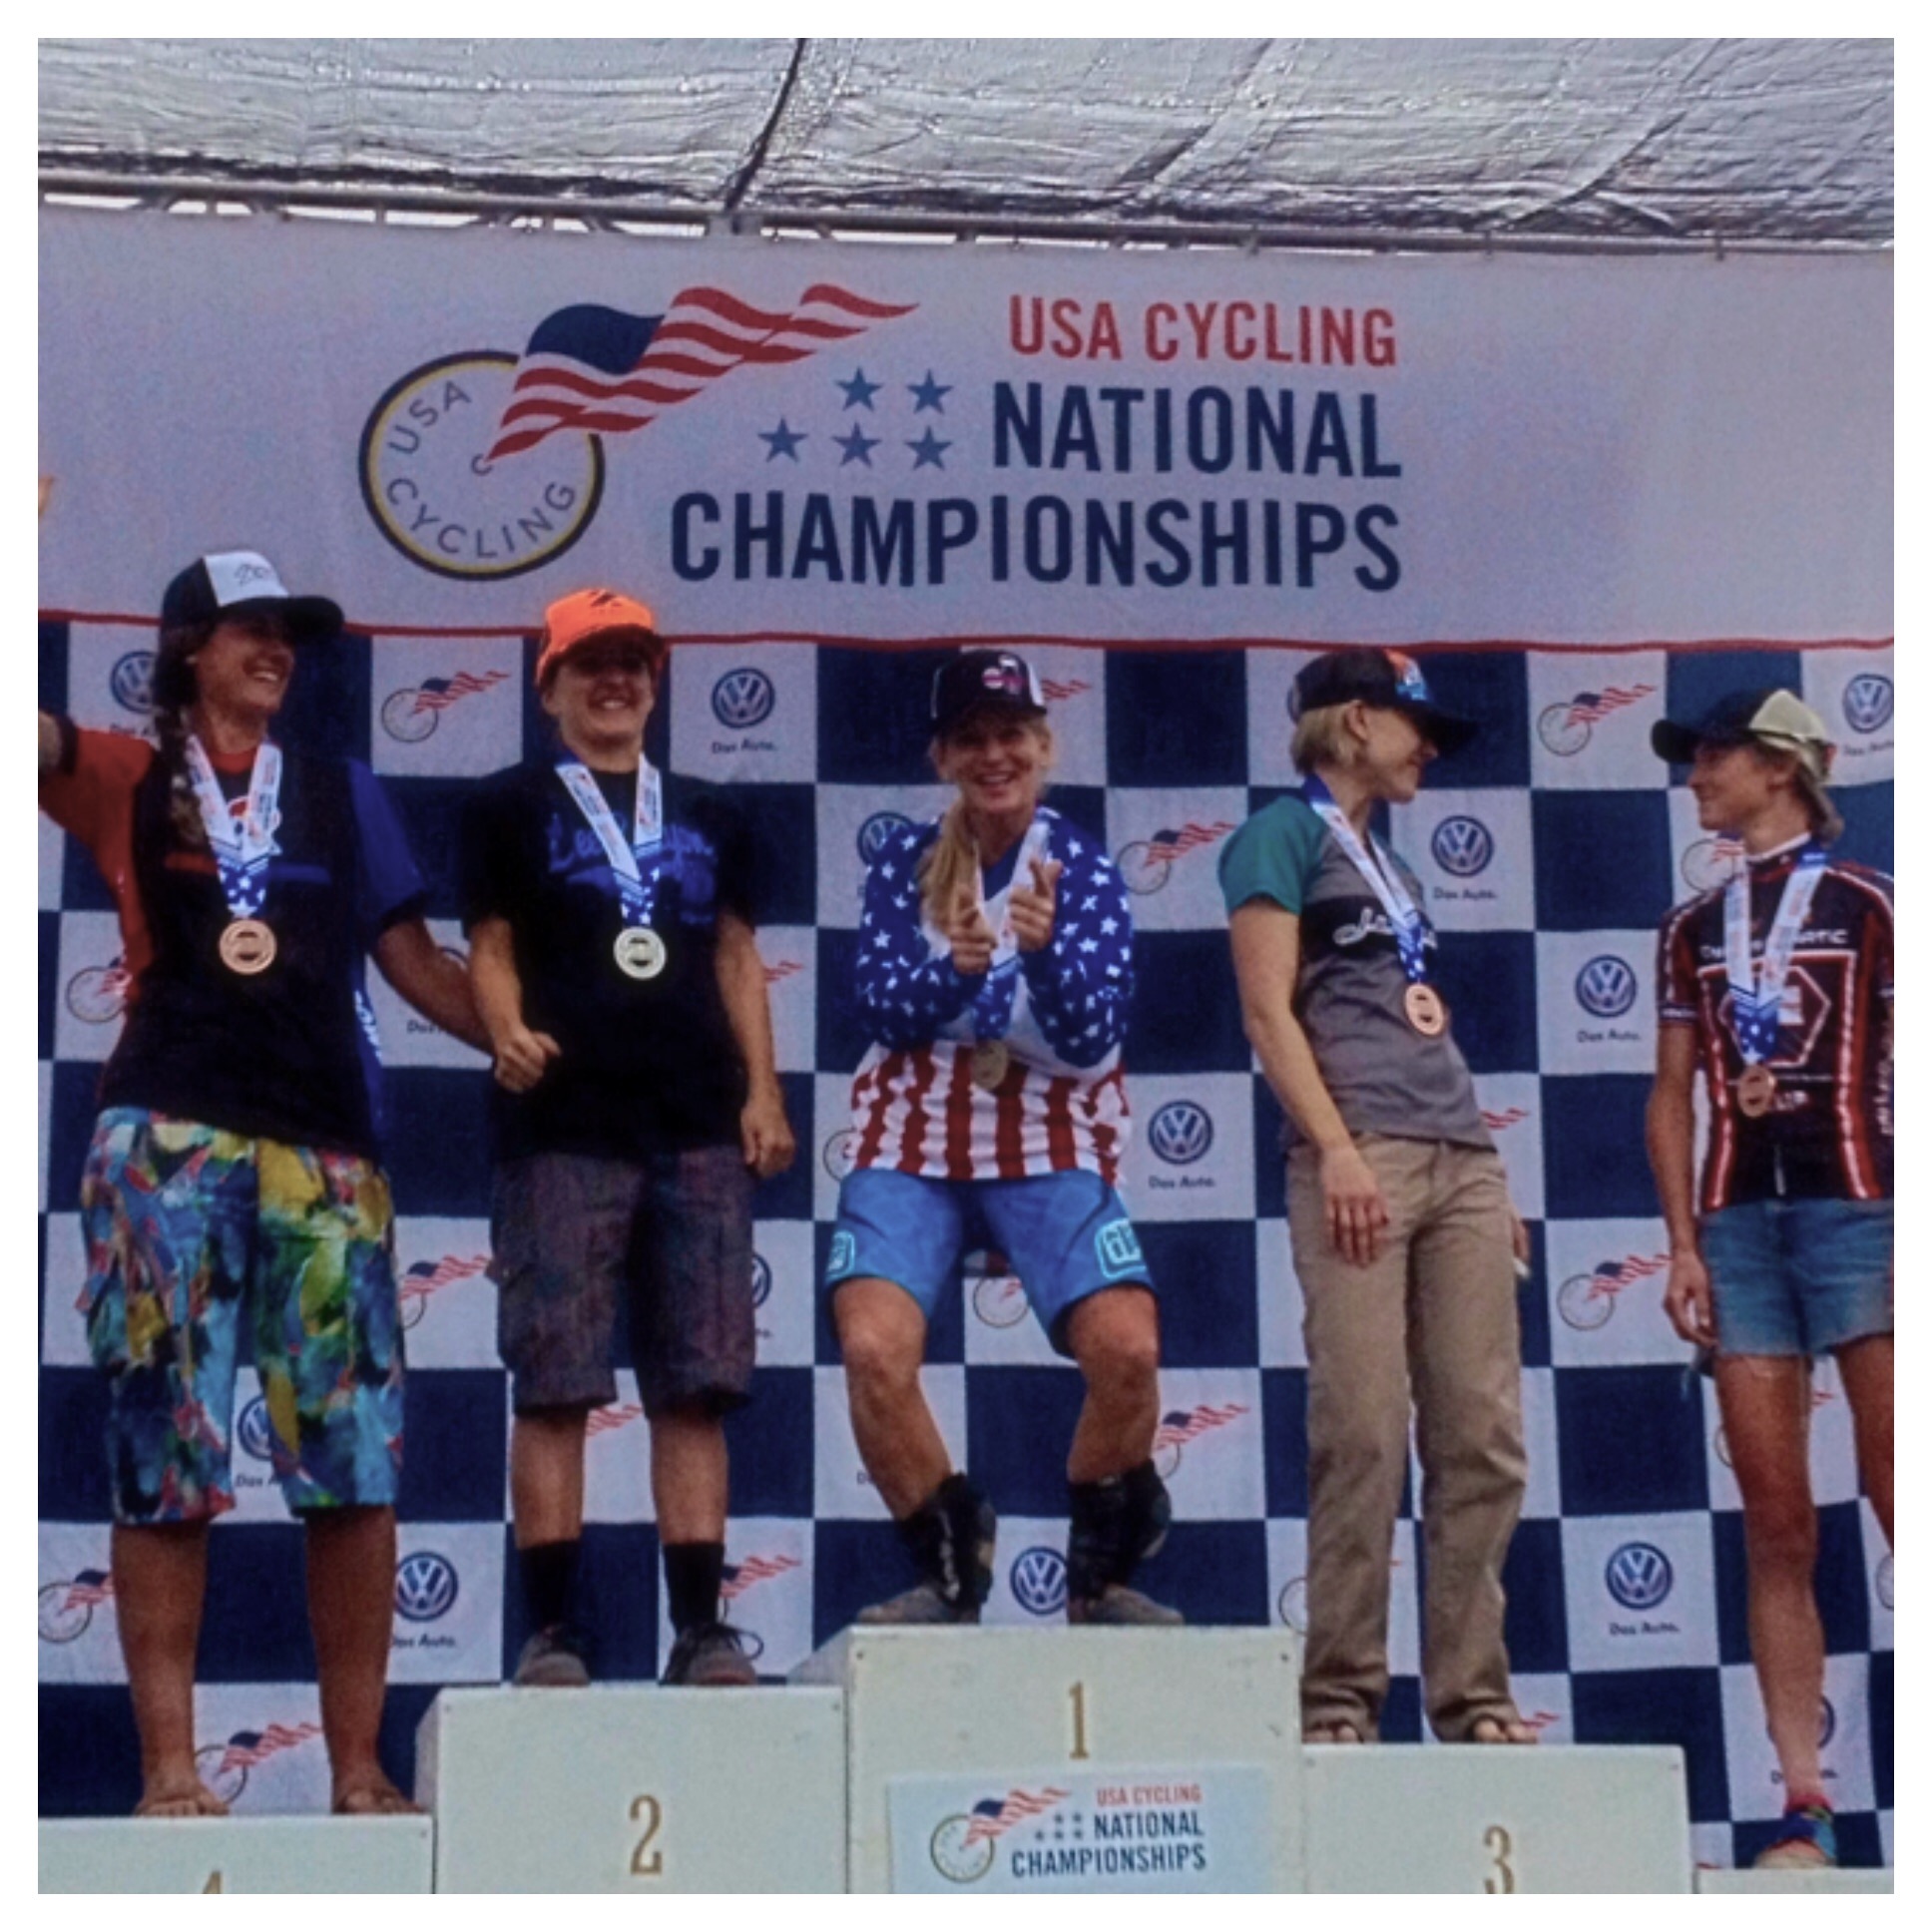
ABOUT THE AUTHOR::  Paula Evenson | TEAM NINJA ELITE [ 2015 Enduro National Champ Amateur 30-39, 2015 DH Cat 2 34-39 National Champ, 2014 XC Cat 3 National Champ 30-39, Rookie Pro Enduro Racer ]

2 Responses

Leave a Reply

Your email address will not be published. Required fields are marked *

keep me in the loop

NOTIFY ME!

I’d like to be notified when new events are added.

Your Privacy is Protected. We will never sell or share your information.

Fundamentals Trail Application - Women's Only

Here’s What We’ll Cover

The specific skills taught in this clinic will depend on available trail features and will vary between locations. Skills covered may include:

  • Rock / Log Step-Ups 
  • Pedal Assisted Front Wheel Lifts
  • Steep Transitions, Roll-Downs
  • Reading trail and line choice
  • Using trail features for maximum flow
  • Turning (Low Speed)
  • Navigating Trail Obstacles
  • Switchbacks – Optimal Line Choice
  • Ratcheting application – how & when 
  • Track stands
  • Braking for Speed 
  • Shifting – Timing + Technique on Technical Terrain
  • Skinnies
  • Off-Camber Trails 
  • Berms 
  • Water crossings 
  • Roots 

The Schedule*

  • 1:15-1:30pm Meet your instructor  | Arrival at course venue + equipment check
  • 1:30 – 1:45pm Fundamentals Skills | Rapid Review 
  • 1:45 – 3:45pm Coached Trail Ride | Sessioning & Skills Application
  • 3:45-4:00pm Review, questions & next steps | #Ridelikeaninja

*Clinic schedule and skills covered may vary according to location and terrain.

Fundamentals Trail Application

Here’s What We’ll Cover

The specific skills taught in this clinic will depend on available trail features and will vary between locations. Skills covered may include:

  • Rock / Log Step-Ups 
  • Pedal Assisted Front Wheel Lifts
  • Steep Transitions, Roll-Downs
  • Reading trail and line choice
  • Using trail features for maximum flow
  • Turning (Low Speed)
  • Navigating Trail Obstacles
  • Switchbacks – Optimal Line Choice
  • Ratcheting application – how & when 
  • Track stands
  • Braking for Speed 
  • Shifting – Timing + Technique on Technical Terrain
  • Skinnies
  • Off-Camber Trails 
  • Berms 
  • Water crossings 
  • Roots 

The Schedule*

  • 1:15-1:30pm Meet your instructor  | Arrival at course venue + equipment check
  • 1:30 – 1:45pm Fundamentals Skills | Rapid Review 
  • 1:45 – 3:45pm Coached Trail Ride | Sessioning & Skills Application
  • 3:45-4:00pm Review, questions & next steps | #Ridelikeaninja

*Clinic schedule and skills covered may vary according to location and terrain.

Ninja Kids clinics

Here’s What We’ll Cover

Some of the skills taught and practiced in the Kids Fundamentals Clinic may include:

  • Ninja (Ready) Position
  • The Riding Rainbow: Body Position
  • How to use your gears
  • Front + Rear Wheel Lifts
  • Safely getting on/off your bike
  • Getting over trail obstacles
  • Turning + Switchbacks
  • Reading the trail: Red Light, Yellow Light, Green Light
  • When and how to brake
  • The 4 Climbing Positions
  • Descending in control
  • How to have fun and be safe!
  • Safety check, bike care

Clinic schedule, time and skills covered may vary according to location and terrain.

2-Day CAMPS

Sample Camp Schedule*

Day 1 (Saturday)

  • 8:45-9:00 Meet your instructor  | Arrival at course venue + equipment check
  • 9:00-9:15 Let’s get started | Introductions, camp overview, bike safety check, bike set-up review
  • 9:15-9:30 Warm-up ride | Head to skills area
  • 9:30-12:15 Mornings skills session | Ready position, bike-body separation, effective braking, fluid shifting, body positioning, wheel lifts
  • 12:15-1:30 Lunch break | BYO
  • 1:30 – 4:00 Intro to jumping | Manuals, bunny hops + how to safely jumping (and land) your mountain bike

Day 2 (Sunday)

  • 8:45-9:00 Meet at trailhead | Gear up for day 2!
  • 9:00-9:15 Review | Brief review of Day 1 skills
  • 9:15-12:00 Morning skills session | High-speed cornering, switchbacks, drops, rock dodge, technical climbing & descending
  • 12:00-1:00  Lunch break | BYO
  • 1:00-3:45 Trail ride + skills application | Put those skills to work!
  • 3:45-4:00 Review, questions & next steps | #Ridelikeaninja


*Clinic schedule and skills covered may vary according to location and terrain.

After camp, you will see an immediate improvement in your riding and a boost in confidence on technical trails. You will be able to tackle rougher terrain and corners with greater control and flow through singletrack, switchbacks, and berms with more speed and efficiency.

Jumping Mini-Clinics

Here’s What We’ll Cover

Some of the skills taught and practiced in the Jumping Mini-Clinic may include:

  • Wheel lift Review
  • Bunny hops
  • Jumping body positioning
  • Anatomy of a jump
  • Speed vs. compression | How and when?
  • Landing with precision
  • Let’s get jumping! | Jump progressions

The Schedule*

Please note, clinics may vary according to location and terrain.

  • 1:30-1:45  Meet your instructor | Arrival at course venue + equipment check
  • 1:45-2:00 Let’s get started | Introductions
  • 2:00 – 2:30  Intro to jumping | Wheel lifts, manual, bunny hop
  • 2:30 – 3:00 Reading the jump | Anatomy of a jump, speed vs compression, landings
  • 3:00 – 3:45 Let’s jump! | Jumping progressions on table tops
  • 3:45-4:00 Review and next steps | #ridelikeaninja


*Clinic schedule and skills covered may vary according to location and terrain.

Intermediate / advanced clincs

Here’s What We’ll Cover

Some of the skills taught and practiced in the Intermediate/Advanced clinic may include:

  • Negotiating trail obstacles (i.e. rock gardens, roots, logs)
  • Steep transitions
  • Drops
  • High speed cornering
  • Technical climbing
  • Technical descending
  • Advanced braking
  • Reading the trail
  • Introduction to energy management & flow
  • Pumping for speed & air
  • Technical Switchbacks (where available)
  • Ratcheting & Trackstands
  • Visualization

The Schedule*

  • 8:45-9:00 Meet your instructor  | Arrival at course venue + equipment check
  • 9:00-9:15 Let’s get started | Introductions
  • 9:15-9:45 Accelerated review of Fundamentals | With intermediate+advanced progressions
  • 9:45-12:00 Morning skills session | High-speed cornering, Switchbacks, drops, rock dodge, technical climbing & descending
  • 12:00-1:00  Lunch break | BYO
  • 1:00-3:45 Trail ride + skills application | Put those skills to work!
  • 3:45-4:00 Review, questions & next steps | #Ridelikeaninja

*Clinic schedule and skills covered may vary according to location and terrain.

WOMEN'S ONLY Fundamentals Combo

Here’s What We’ll Cover

The specific skills taught in this clinic will depend on available trail features and will vary between locations. Skills covered may include:

  • The Ready Position
  • Bike/Body Separation
  • Intro to Steep Transitions
  • Effective Braking
  • Braking for speed
  • Wheels lifts – Step-Ups
  • Shifting, Timing & Cadence
  • Negotiating trail obstacles
  • Turning / Switchbacks
  • Climbing + Descending
  • Dismounting
  • Mind skills
  • Steep Transitions, Roll-Downs
  • Reading trail and line choice
  • Using trail features for flow
  • Turning (Low Speed)
  • Ratcheting – how & when 
  • Track stands
  • Skinnies
  • Off-Camber Trails
  • Berms
  • Water crossings
  • Roots

The Schedule*

  • 8:45-9:00  Meet your instructor  | Arrival at course venue + equipment check
  • 9:00-9:15 Let’s get started | Introductions
  • 9:15am – 11:15 Skills & drills | Learn, learn, learn
  • 11:15am – 12:15 Take it to the trail | Apply what you’ve learned
  • 12:15 – 1:30pm Lunch Break | Rest & Refuel
  • 1:30 – 1:45pm Fundamentals Skills | Rapid Review 
  • 1:45 – 3:45pm Coached Trail Ride | Sessioning & Skills Application
  • 3:45-4:00pm Review, questions & next steps | #Ridelikeaninja

*Clinic schedule and skills covered may vary according to location and terrain.

Co-ed Fundamentals Combo

Here’s What We’ll Cover

The specific skills taught in this clinic will depend on available trail features and will vary between locations. Skills covered may include:

  • The Ready Position
  • Bike/Body Separation
  • Intro to Steep Transitions
  • Effective Braking
  • Braking for speed
  • Wheels lifts – Step-Ups
  • Shifting, Timing & Cadence
  • Negotiating trail obstacles
  • Turning / Switchbacks
  • Climbing + Descending
  • Dismounting
  • Mind skills
  • Steep Transitions, Roll-Downs
  • Reading trail and line choice
  • Using trail features for flow
  • Turning (Low Speed)
  • Ratcheting – how & when 
  • Track stands
  • Skinnies
  • Off-Camber Trails
  • Berms
  • Water crossings
  • Roots

The Schedule*

  • 8:45-9:00  Meet your instructor  | Arrival at course venue + equipment check
  • 9:00-9:15 Let’s get started | Introductions
  • 9:15am – 11:15 Skills & drills | Learn, learn, learn
  • 11:15am – 12:15 Take it to the trail | Apply what you’ve learned
  • 12:15 – 1:30pm Lunch Break | Rest & Refuel
  • 1:30 – 1:45pm Fundamentals Skills | Rapid Review 
  • 1:45 – 3:45pm Coached Trail Ride | Sessioning & Skills Application
  • 3:45-4:00pm Review, questions & next steps | #Ridelikeaninja

*Clinic schedule and skills covered may vary according to location and terrain.

Ninja MTB Logo

Women's Only Fundamentals Clinics

Level 1 - Here’s What We’ll Cover

Some of the skills taught and practiced in the Women’s Only Fundamentals Clinic may include:

  • The Ready Position
  • Bike/Body separation
  • Intro to Steep Transitions
  • Effective braking
  • Wheels lifts
  • Shifting + cadence
  • Negotiating trail obstacles
  • Turning / Switchbacks
  • Climbing + Descending
  • Dismounting
  • Mind skills

The Schedule*

  • 8:45-9:00  Meet your instructor  | Arrival at course venue + equipment check
  • 9:00-9:15 Let’s get started | Introductions
  • 9:15am – 11:15 Skills & drills | Learn, learn, learn
  • 11:15am – 12:00 Take it to the trail | Apply what you’ve learned
  • 12:00-12:15 Review and next steps | #ridelikeaninja
 

*Clinic schedule and skills covered may vary according to location and terrain.

Ninja MTB Logo

Co-ed Fundamentals Clinics

Level 1 - Here’s What We’ll Cover

Some of the skills taught and practiced in the Fundamentals Clinic may include:

  • The Ready Position
  • Bike/Body separation
  • Intro to Steep Transitions
  • Effective braking
  • Wheels lifts
  • Shifting + cadence
  • Negotiating trail obstacles
  • Turning / Switchbacks
  • Climbing + Descending
  • Dismounting
  • Mind skills

The Schedule*

  • 8:45-9:00  Meet your instructor  | Arrival at course venue + equipment check
  • 9:00-9:15 Let’s get started | Introductions
  • 9:15am – 11:15 Skills & drills | Learn, learn, learn
  • 11:15am – 12:00 Take it to the trail | Apply what you’ve learned
  • 12:00-12:15 Review and next steps | #ridelikeaninja
 

*Clinic schedule and skills covered may vary according to location and terrain.

LEAVING SO SOON?

60% Off

IF YOU SIGN UP FOR A MTB SKILLS CLINIC TODAY!

Enter your email below to get your limited time coupon code (valid for 48 hours).

Valid on all Skills Camps and Clinics. Your Privacy is Protected.

Awesome sauce!

60% Off

USE THIS CODE TO SIGN UP TODAY!

CHECKOUT4XY2

*Limited time offer. Valid for 48 hours on any upcoming MTB skills clinic or camp.